Technical specifications
- Complete starter kit
- Leveling clips, wedges, and metal tile leveling pliers
- Reusable bucket
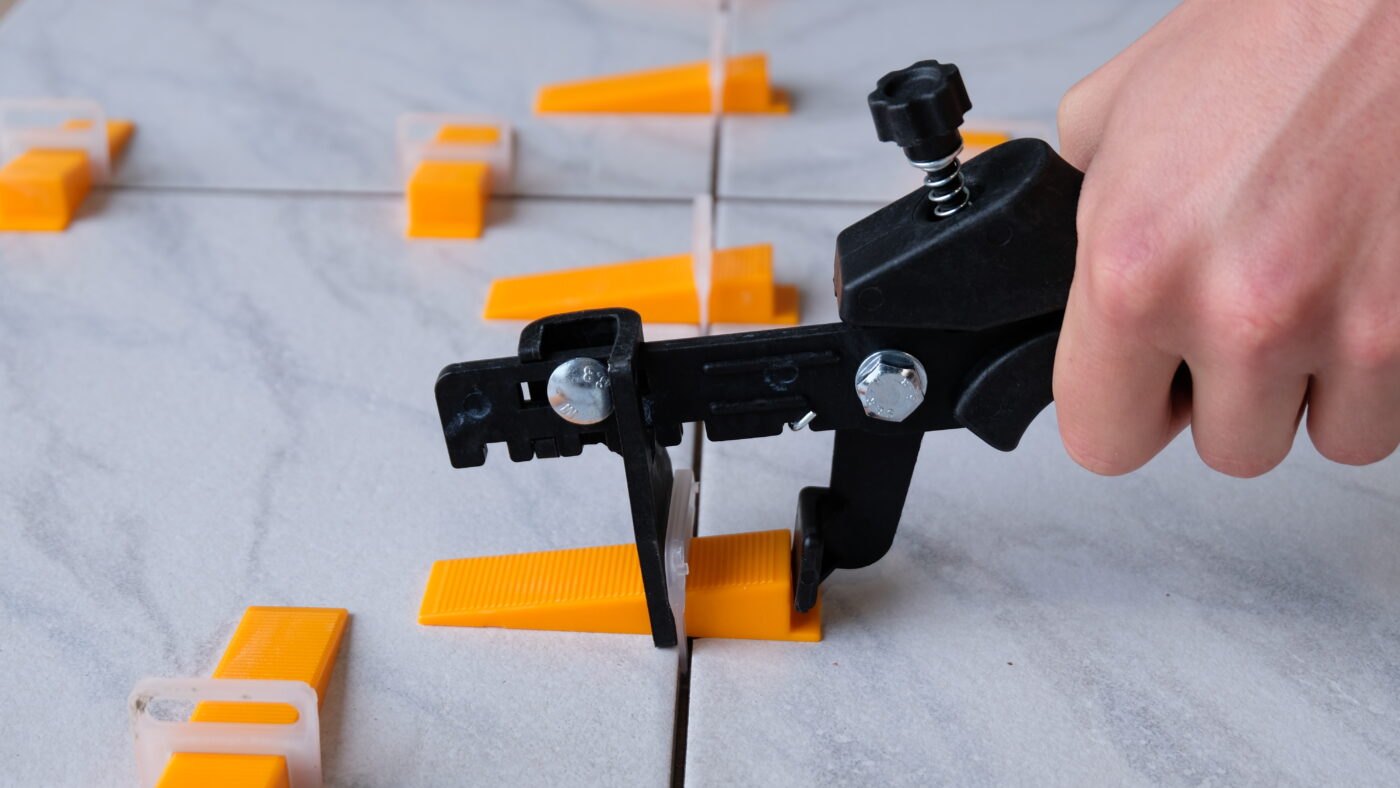


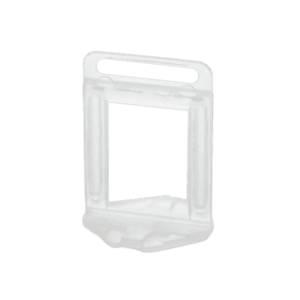
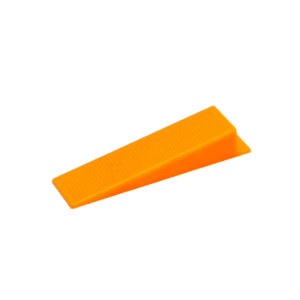
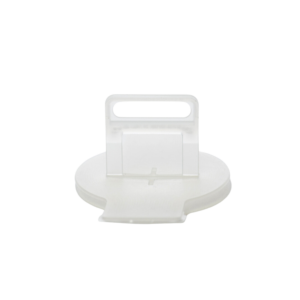
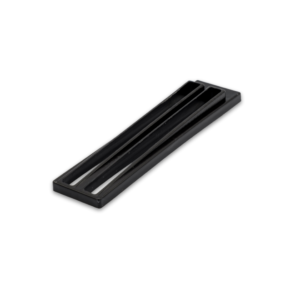
The Levelit XXL Starter Kit contains everything you need to start using the Levelit Tile Levelling System straight away. The complete kit includes XXL Spacer Clips, reusable wedges and adjustable metal levelling pliers, all conveniently packed in a durable, reusable bucket.
Technical specifications
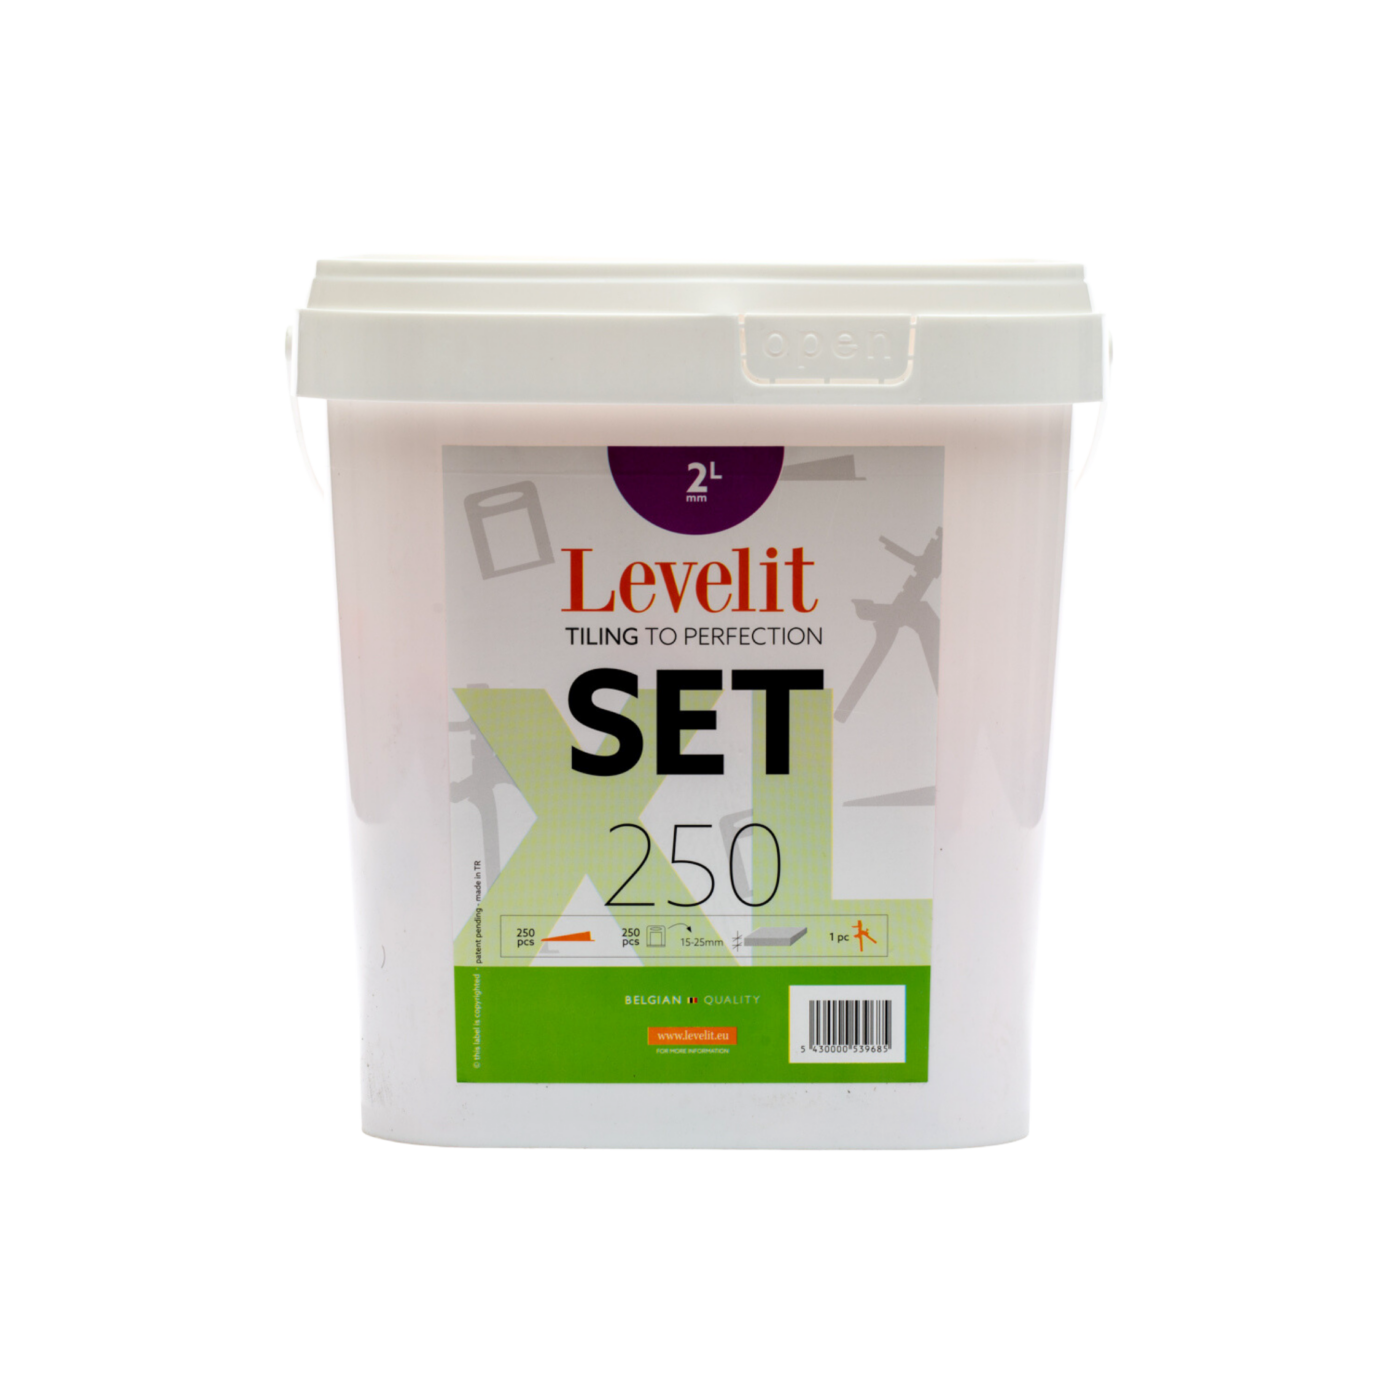 | 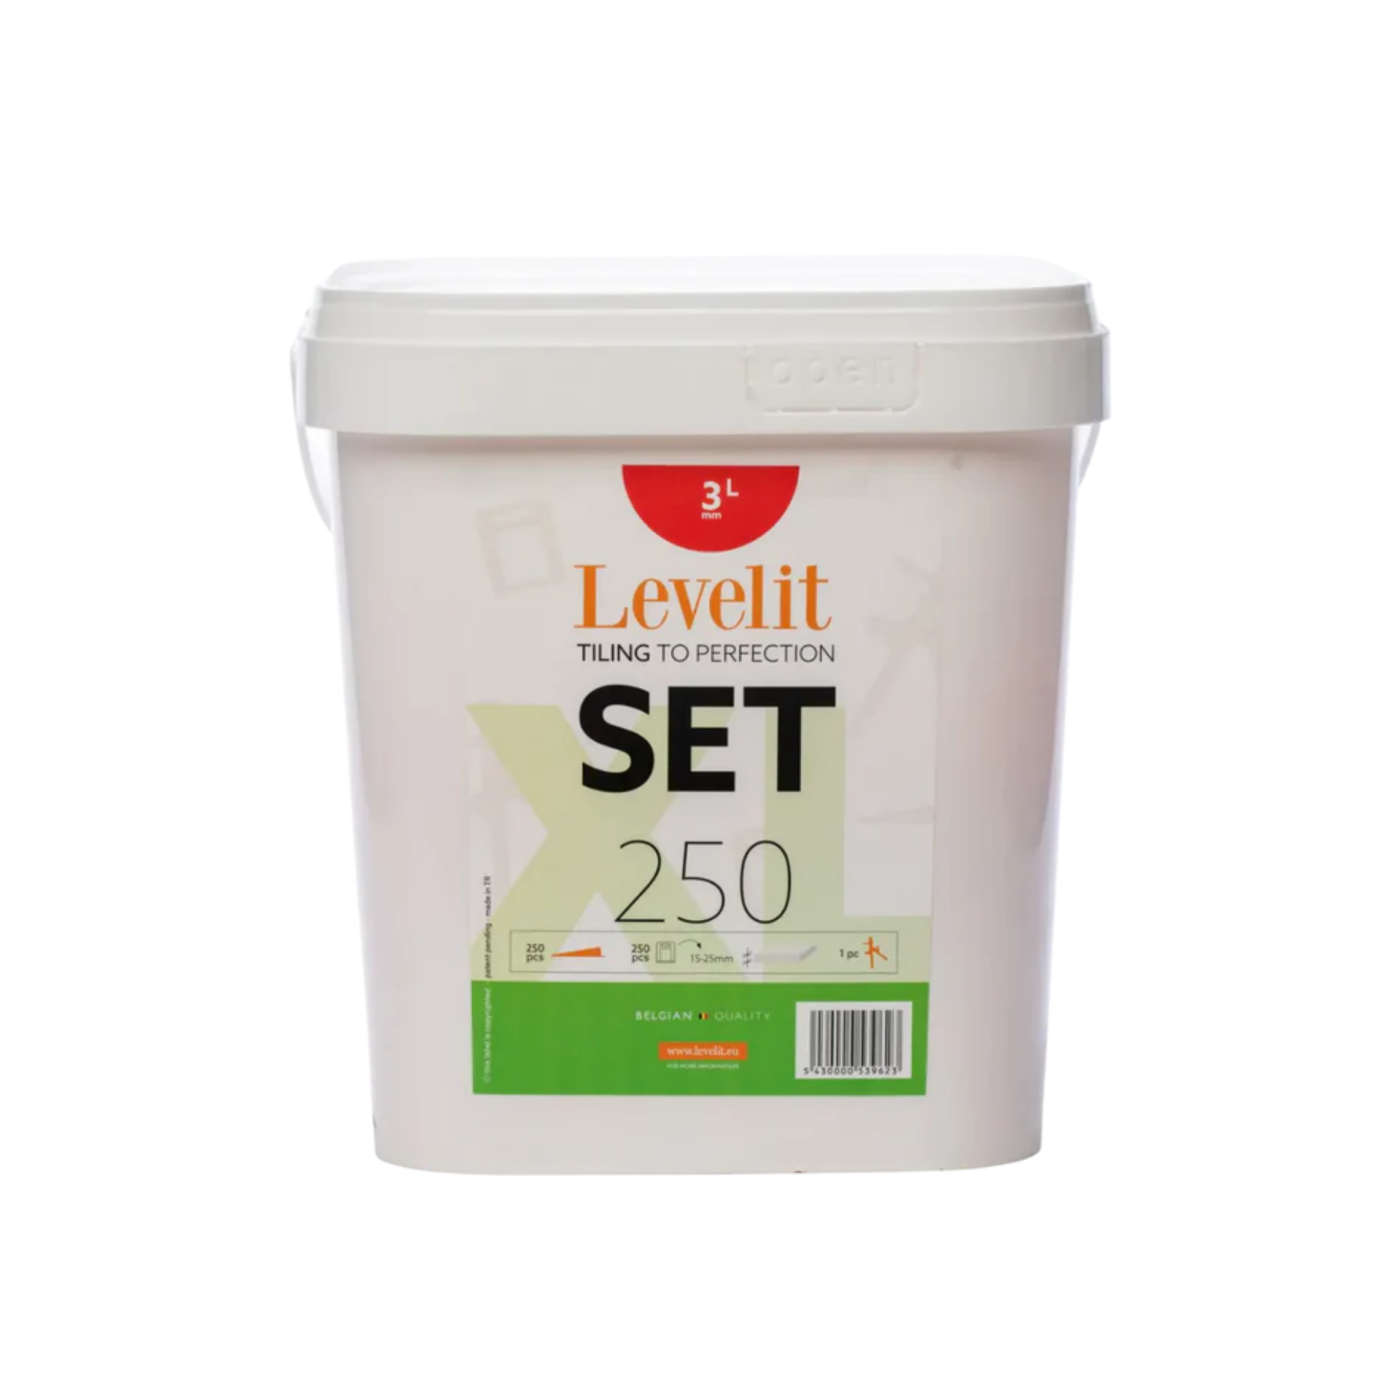 |  | |
Specifications | XL STARTER KIT 2 MM – 250 PCS | XXL STARTER KIT 3 MM – 250 PCS | XL STARTER KIT 4 MM – 250 PCS |
Reference | SET250-M2L | SET250-M3L | SET250-M4L |
EAN code | 5430000539685 | 5430000539623 | 5430000539760 |
Joint width | 2 mm | 3 mm | 4 mm |
Quantity | 250 pcs | 250 pcs | 250 pcs |
Tile thickness | 15 - 25 mm | 22 - 30 mm | 15 - 25 mm |
Documents |
With the Levelit XXL Starter Kit, you have everything you need to start installing extra-thick tiles, natural stone and outdoor paving slabs straight away. The kit includes XXL Spacer Clips, reusable wedges and adjustable metal levelling pliers, providing everything you need to achieve a perfectly level finish without any additional purchases.
The XXL Spacer Clips ensure precise alignment of adjacent tiles while maintaining consistent joint widths. Used together with the reusable wedges and levelling pliers, they eliminate lippage and keep the tiles securely in place as the adhesive cures, resulting in a clean, professional finish.
Designed for tiles 22–30 mm thick, the XXL Starter Kit is ideal for large-format tiles, natural stone and outdoor paving slabs. The durable, reusable bucket keeps all components neatly organised, making storage, transport and use on site quick and convenient.
Always apply sufficient tile adhesive and place the first tile. Check that the tile is perfectly level before continuing with the installation.
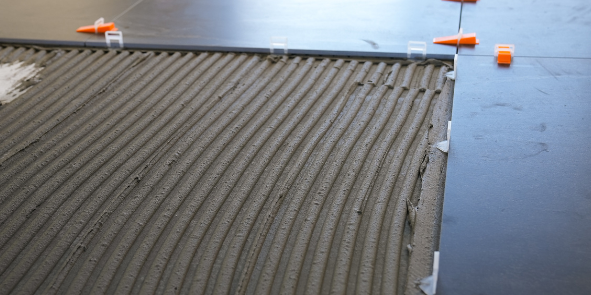
Slide the clip(s) underneath the tile and press the tile down gently. Place the next tile after installing the clips. Make sure the tile is positioned on top of the clip base.
Depending on the tile size, place one or more clips along each side. Tap the tile into place.

Insert the wedge into the clip and use the leveling pliers to tighten it until the tiles are perfectly aligned. Tip: do not remove the wedge just yet.

Leave the system in place until the adhesive has cured. Once the adhesive has hardened, break the clip at its base using a rubber mallet or by kicking it in the direction of the joint. Remove the wedges and reuse them for your next installation.
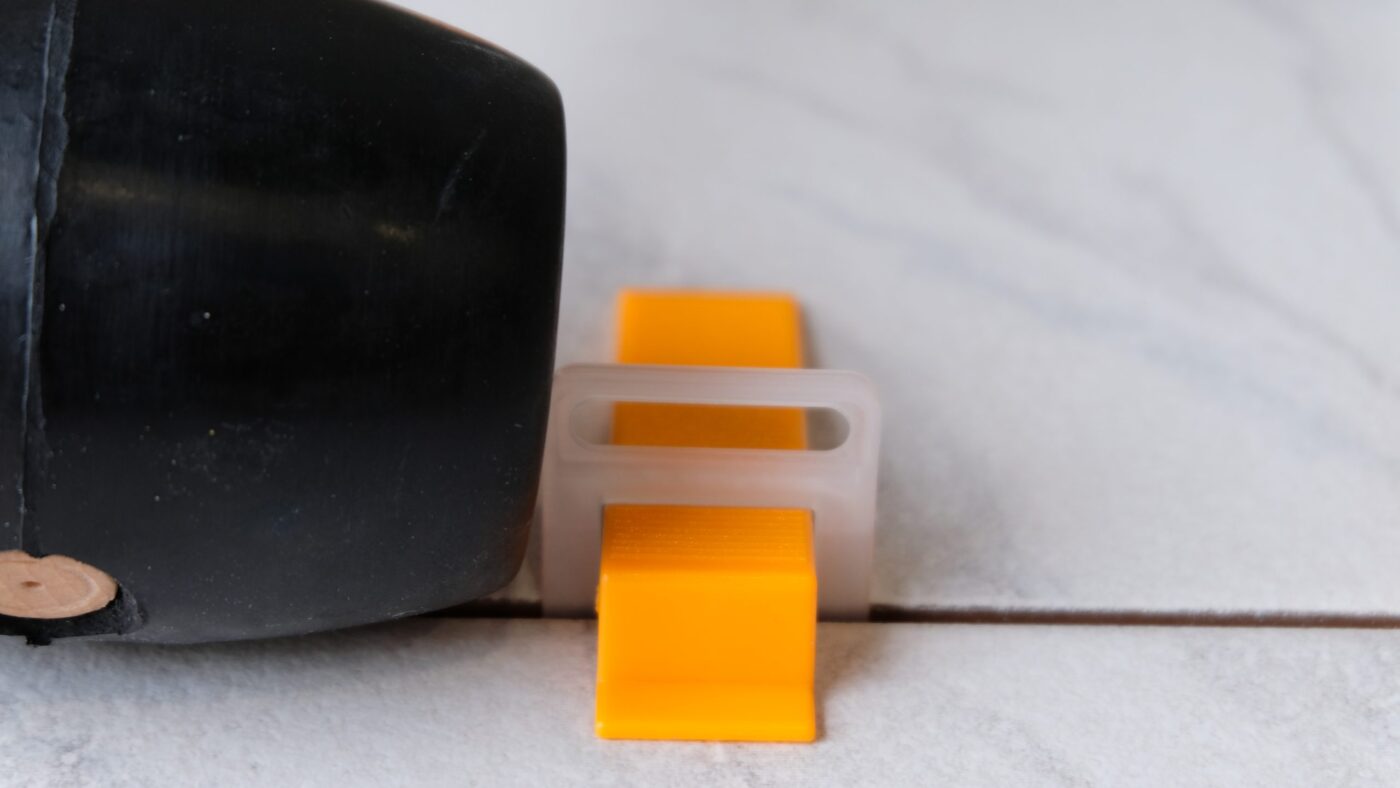
The number of clips and wedges required depends on several factors, including the tile size and the total area to be tiled. Refer to the consumption guide below to calculate the required quantity.
 Step 1
Measure the length and width of your tile. Then locate these dimensions in the consumption chart alongside. The point where the two measurements intersect indicates the number of clips required per m2.
Calculate the total area to be tiled in m² by multiplying the length by the width of the area.
Multiply the number of clips required per m2 (from Step 1) by the total area to be tiled (from Step 2). This gives you the total number of clips required for your project.
| | | | |
Specifications | XL STARTER KIT 2 MM – 250 PCS | XXL STARTER KIT 3 MM – 250 PCS | XL STARTER KIT 4 MM – 250 PCS |
Reference | SET250-M2L | SET250-M3L | SET250-M4L |
EAN code | 5430000539685 | 5430000539623 | 5430000539760 |
Joint width | 2 mm | 3 mm | 4 mm |
Quantity | 250 pcs | 250 pcs | 250 pcs |
Tile thickness | 15 - 25 mm | 22 - 30 mm | 15 - 25 mm |
Documents |
With the Levelit XXL Starter Kit, you have everything you need to start installing extra-thick tiles, natural stone and outdoor paving slabs straight away. The kit includes XXL Spacer Clips, reusable wedges and adjustable metal levelling pliers, providing everything you need to achieve a perfectly level finish without any additional purchases.
The XXL Spacer Clips ensure precise alignment of adjacent tiles while maintaining consistent joint widths. Used together with the reusable wedges and levelling pliers, they eliminate lippage and keep the tiles securely in place as the adhesive cures, resulting in a clean, professional finish.
Designed for tiles 22–30 mm thick, the XXL Starter Kit is ideal for large-format tiles, natural stone and outdoor paving slabs. The durable, reusable bucket keeps all components neatly organised, making storage, transport and use on site quick and convenient.
Always apply sufficient tile adhesive and place the first tile. Check that the tile is perfectly level before continuing with the installation.
Slide the clip(s) underneath the tile and press the tile down gently. Place the next tile after installing the clips. Make sure the tile is positioned on top of the clip base.
Depending on the tile size, place one or more clips along each side. Tap the tile into place.
Insert the wedge into the clip and use the leveling pliers to tighten it until the tiles are perfectly aligned. Tip: do not remove the wedge just yet.
Leave the system in place until the adhesive has cured. Once the adhesive has hardened, break the clip at its base using a rubber mallet or by kicking it in the direction of the joint. Remove the wedges and reuse them for your next installation.
The number of clips and wedges required depends on several factors, including the tile size and the total area to be tiled. Refer to the consumption guide below to calculate the required quantity.
Step 1Measure the length and width of your tile. Then locate these dimensions in the consumption chart alongside. The point where the two measurements intersect indicates the number of clips required per m2.
Calculate the total area to be tiled in m² by multiplying the length by the width of the area.
Multiply the number of clips required per m2 (from Step 1) by the total area to be tiled (from Step 2). This gives you the total number of clips required for your project.