


Frequently asked questions
- How does a tile leveling system work?
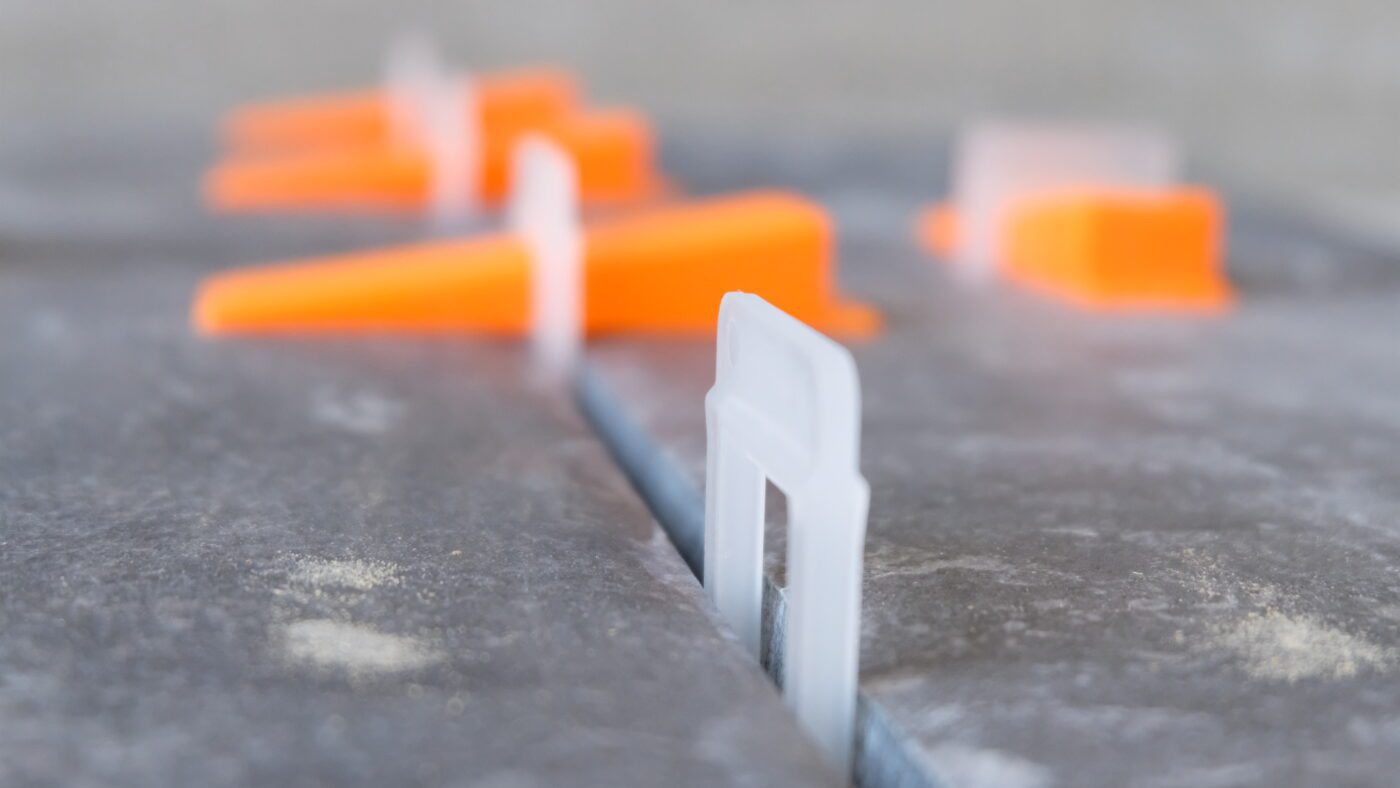
When using a tile leveling system, you start by applying the tile adhesive. Then you slide the clips under the tile. You can use one or more clips on each side.
When the spacer is firmly in place, you’re ready for the next tile. Are all the tiles completely level? Then insert the wedge into the clip opening. The push pliers are useful for this. Now it’s just a matter of waiting. The adhesive needs time to fully dry.
Once the adhesive is completely hard, remove the visible part of the clip. Anyone can use this system to lay tiles evenly, always the right distance apart. We often see professional tilers benefiting from it in practice.
- Benefits of a tile leveling system
Tile leveling systems offer a number of benefits. You can lay all your tiles in one go, for example, and start walking on your new floor sooner. The clips and wedges also hold the tiles together properly while laying them, and automatically ensure you always have the same joint width.
Are your tiles thinner than 6 mm? No problem if you’re using a leveling system. You’re sure to end up with a perfectly laid floor which you can enjoy for many years. When considering your options, you’ll discover a tile leveling system with standard clips and wedges or splints, among others. You can use this system to lay tiles evenly, with the clips and wedges doing all the work for you.
The clips are available in various thicknesses, such as 1, 2, and 3 mm, and the placement pliers are made from plastic so they’re easy to handle when inserting the wedges firmly in the clips. You can of course also opt for metal pliers. - How do you use clips and wedges correctly?
After applying the tile adhesive, slide the clips under the tile. Use one or more clips for each side, depending on the tile size. Gently tap the tile in place.
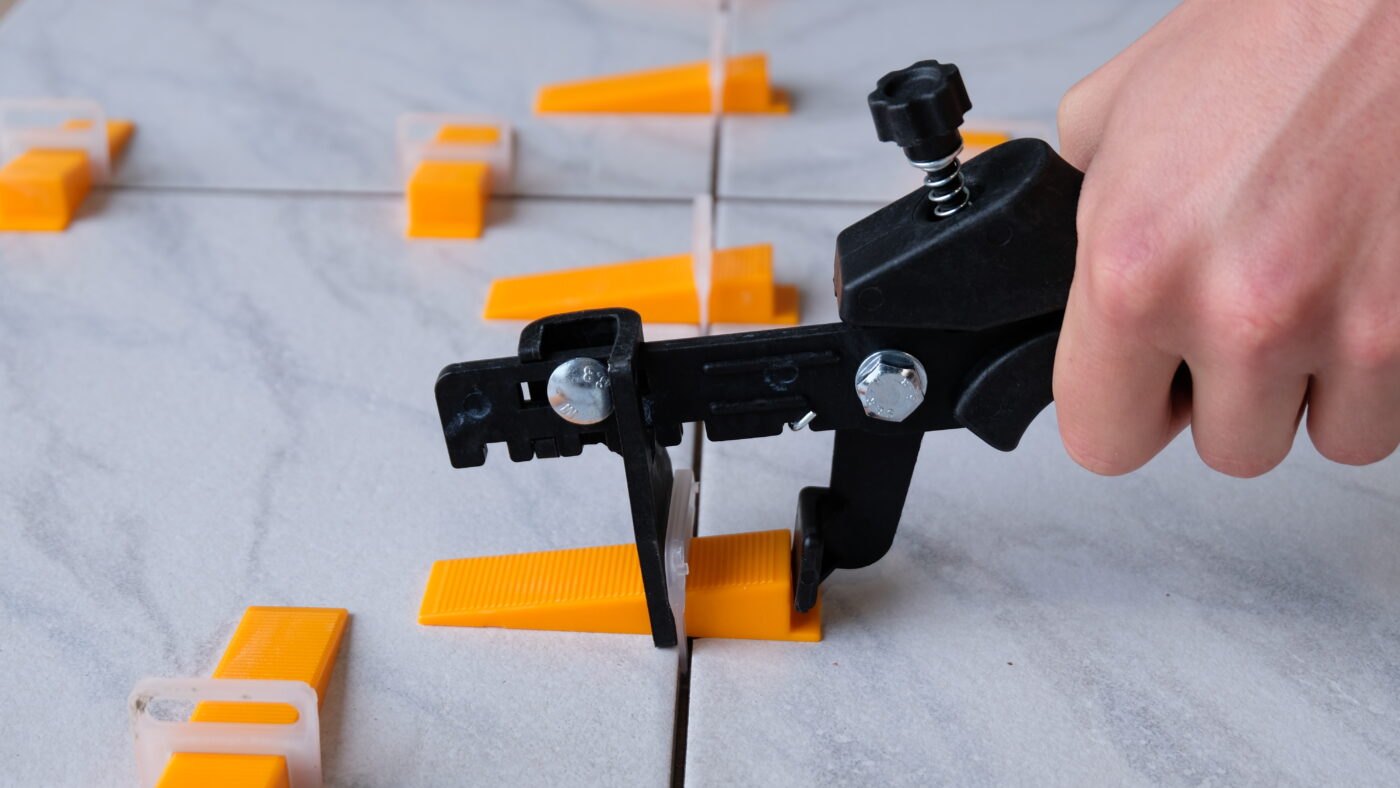
Use your hand to slide the wedges into the clips that have been placed under the tiles. Insert the wedges in the clips carefully – do not exceed the breaking point.
Using the special push pliers will make this insertion easier.Once the tile adhesive has fully hardened, remove the visible part of the clip. Use a rubber mallet or shoe to do this, by gently tapping it away in the direction of the joint.
Different joint widths and tile thicknesses. - Do you offer complete starter kits?
Our tile leveling systems are available for different tile thicknesses and joint widths. These sets include everything you need to take full advantage of the Levelit system, and lay a perfectly level tiled floor yourself.