Skip to content 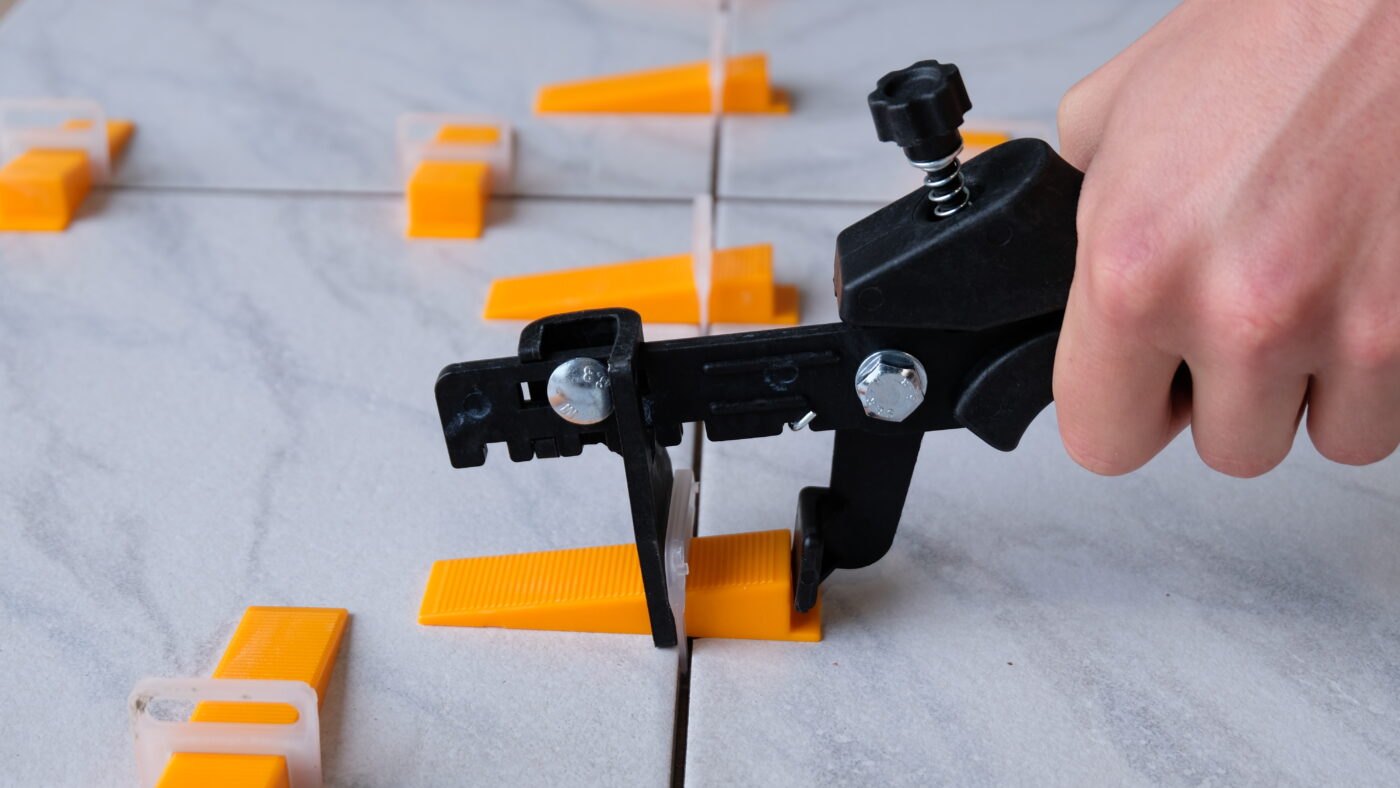
be-en
Choose your region and language
Apply ARTICLES
Using the plier
Using tile pliers seems obvious, but it certainly isn’t. You should always set up the plier based on your tiles. In the article below, we explain to you, how to set up the plier.
It is possible to push the wedge into the clip by hand, but after a few times this will hurt your fingers. Moreover, you cannot apply the same force with your fingers, as you can with plier.
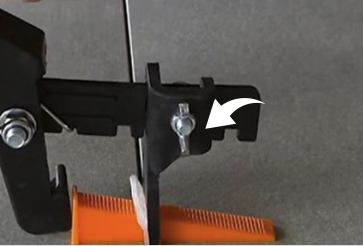
Adjusting the head of the pliers for thin tiles
Based on the tile thickness, you need to adjust the head of the pliers. With thinner tiles, the wedge will be pushed further through the clip using the pliers. With thin tiles, it is best to slide the head closer to the handle. You can do this by using the wing nut. Turn the wing nut, move the head and tighten the nut again. This way, the clearance between the grip piece and the attachment piece is smaller and the pliers can push the wedge through the clip.
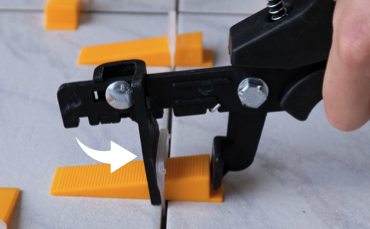
Adjusting the head of the pliers for thick tiles
With thicker tiles, the head of the pliers should be placed just further out, in order to create greater clearance and have a larger gripping range. You can do this by means of the wing nut. Turn the wing nut log, move the head and tighten the nut again. This way, the clearance between the gripping piece and the attachment is greater and the pliers can push the wedge through the clip.

Setting the force of the pliers
The black screw at the top of the pliers can be used to set the force. To set it, you must first test the pliers on some clips. If the screw is turned in too far, there will not be enough force on the key. In this way, the vise will obstruct the pliers. If the screw is not screwed in enough, one can pull too hard. In this case, too much tension may be put on the leveling system, resulting in loss of force for the user.
Tip: Make sure your pliers are adjusted correctly. If it is not adjusted properly, the pliers may break after some time.
Related articles
ARTICLES
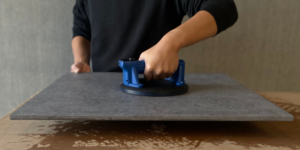
PowerGrip USB Suction Cup: Maximum Control for Large-Format Tiles
Handling XXL tiles and heavy glass panels is physically demanding. As tile formats continue to grow, traditional suction cups often reach their limits. The Levelit PowerGrip USB offers the solution.
ARTICLES
Tips for using a tile levelling system
Installing tiles has never been easier than with Levelit's leveling system. In this blog post you will find some helpful tips when using a leveling system tiles. When using our leveling systems, be guided by the video below.

ARTICLES
Quality & innovation go hand in hand!
Levelit is constantly being copied by several other brands. Our first systems, films, photos and more can now be found in more than 15 different countries. Now again our systems are being copied. That is why Levelit has been looking for new innovations.