Skip to content 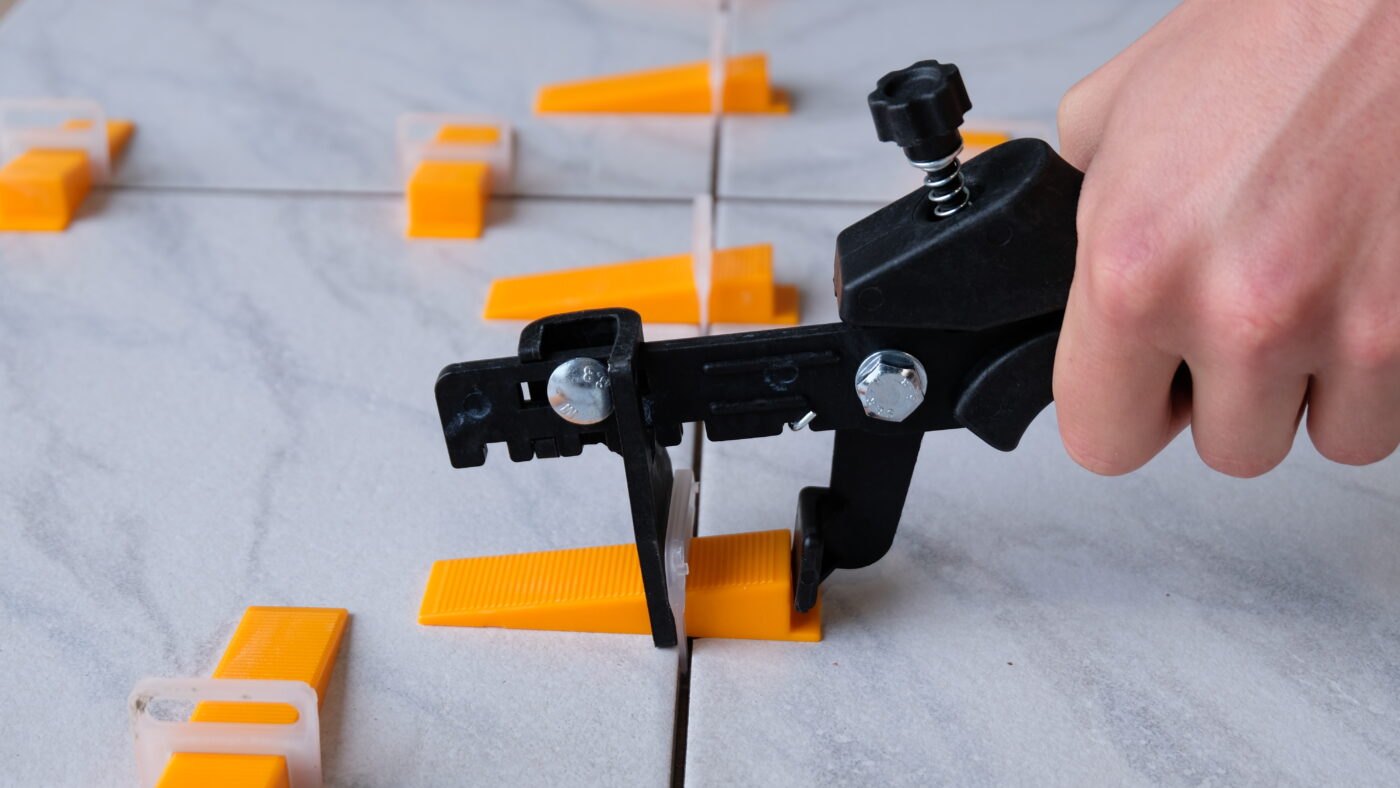
be-en
Choose your region and language
Apply ARTICLES
Tips for using a tile levelling system
Installing tiles has never been easier than with Levelit’s leveling system. In this blog post you will find some helpful tips when using a leveling system tiles. When using our leveling systems, be guided by the video below.
Step 1: Start with a flat surface
Start your tiling job with a level surface before you begin tiling with a leveling system. A leveling system is not for leveling the subfloor, but for leveling the tiles.
Step 2: Make & apply glue
Start by making the glue. To prepare your glue use a clean tub, glue powder, a mixer and clean water. On the tile adhesive bag, you can find exactly how much water you need per bag. Using your measuring cup, measure out the correct amount and pour the water into the tub with the glue powder. A flexible adhesive is ideal for tiling walls and floors. Mix the mixture for a few minutes. Then wait a few minutes and mix the mixture a second time. On this flat surface, place a minimum glue bed of 4mm so that afterwards the clips are well embedded in the glue.
Step 3: Laying the first 4 tiles
Your tiling job usually starts at the wall. Place a leveling cross against the wall and drop the first tile into the adhesive so that most of the air is out. Scrape some glue away from the surface with a small spatula. This way you make sure the glue doesn’t get up there. Place 2 clips two side of the tile and stay at least 5 cm from the corners. This way you will avoid damage to the tile when putting it on. Continue working until you have laid 4 tiles. Tap the tiles with a rubber mallet so that they are approximately level.
Step 4: Installing and donning the system
Insert wedges through the openings of the clips. Place the wedges from the freshly installed tile to the old tile. In other words, place the wedges in the direction of the tile lying against the wall. Now use pliers to tighten the wedges. Don’t wait too long to insert the wedges into the clips or you won’t be able to tighten them. Are you working with the swivel system? Then rotate the caps on the clips until you feel that they are tight.
Step 5: Remove the system
Before the glue is dry you may kick the system off in the direction of the joint. You may discard the clips; the wedges may be reused for a subsequent job.
NOW TILE ALL BY YOURSELF WITH LEVELIT’S LEVELING SYSTEMS!
Related articles
ARTICLES
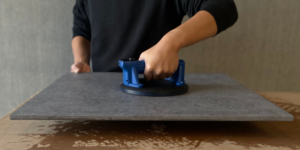
PowerGrip USB Suction Cup: Maximum Control for Large-Format Tiles
Handling XXL tiles and heavy glass panels is physically demanding. As tile formats continue to grow, traditional suction cups often reach their limits. The Levelit PowerGrip USB offers the solution.
ARTICLES
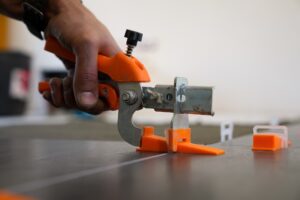
Using the plier
Learn how to correctly adjust and use tile levelling pliers for the best results. Discover how to set the plier head and pressure according to your tile thickness, ensuring efficient and safe use of your levelling system.

ARTICLES
Quality & innovation go hand in hand!
Levelit is constantly being copied by several other brands. Our first systems, films, photos and more can now be found in more than 15 different countries. Now again our systems are being copied. That is why Levelit has been looking for new innovations.