Levelit
be-en

Choose your region and language

Apply
English - Belgium

Wedges

Leveling wedges from Levelit

Obtain a level floor quickly and easily using a leveling system. This can be a pivot system or a wedge system with clips and wedges. Ideally, this leveling system should be easy to use and reusable. By getting started with clips and tile wedges, tiles are very easy to lay.

Wedges
Ensuring that large surfaces, walls, and/or floors are tiled completely level has never been so easy as with the Levelit Pro system.
Floor & Wall Professional & private
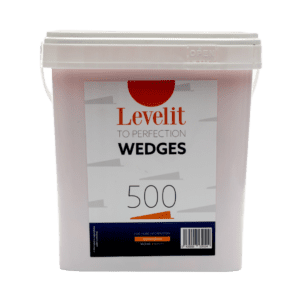
Levelit – Wedges
Professional Levelit wedges allow you to align all tiles while ensuring a perfect joint width between the tiles.
Available in 1mm 1,5mm 2mm 3mm 4mm
Buddy – Wedges
The Buddy wedge system is ideal for DIY.
Available in 1,5mm 2mm 3mm
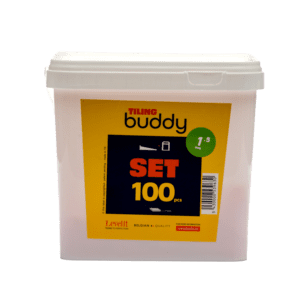
Buddy – Complete set – Wedges and clips
The Buddy wedge system is ideal for DIY.
Available in 1.5mm 2mm 3mm
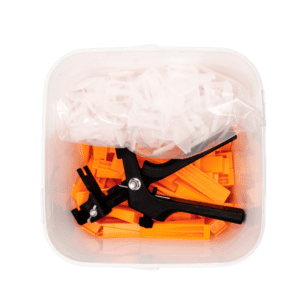
Levelit – Complete Set – Wedges, clips and plastic pliers
These sets include everything you need to get started with Levelit as a professional, and lay a perfectly level floor.
Available in 1mm 1.5mm 2mm 3mm 4mm

What products do you need?

There are an awful lot of different systems for sale. Is this your first job and you don’t have pliers yet? Then buy a starter kit. This always includes pliers. How many clips and chocks are in the starter kit depends on the package. A small kit has 100 chocks and clips. This will allow you to lay 10 square meters of tiles if you are working with 60 x 60 tiles. If you’re working on a larger tile floor, you’d better choose a larger starter kit with more wedges and clips.

Levelit tile wedges

Do you already have a pair of pliers in your home? Then you don’t need to go for a starter kit. This is not only beneficial for you, but also better for the environment. A good option are the chocks from Levelit. Thanks to the large pressure surface they have, the tiles will not break. Moreover, these plastic wedges are reusable.

How do you use the chocks from Levelit?

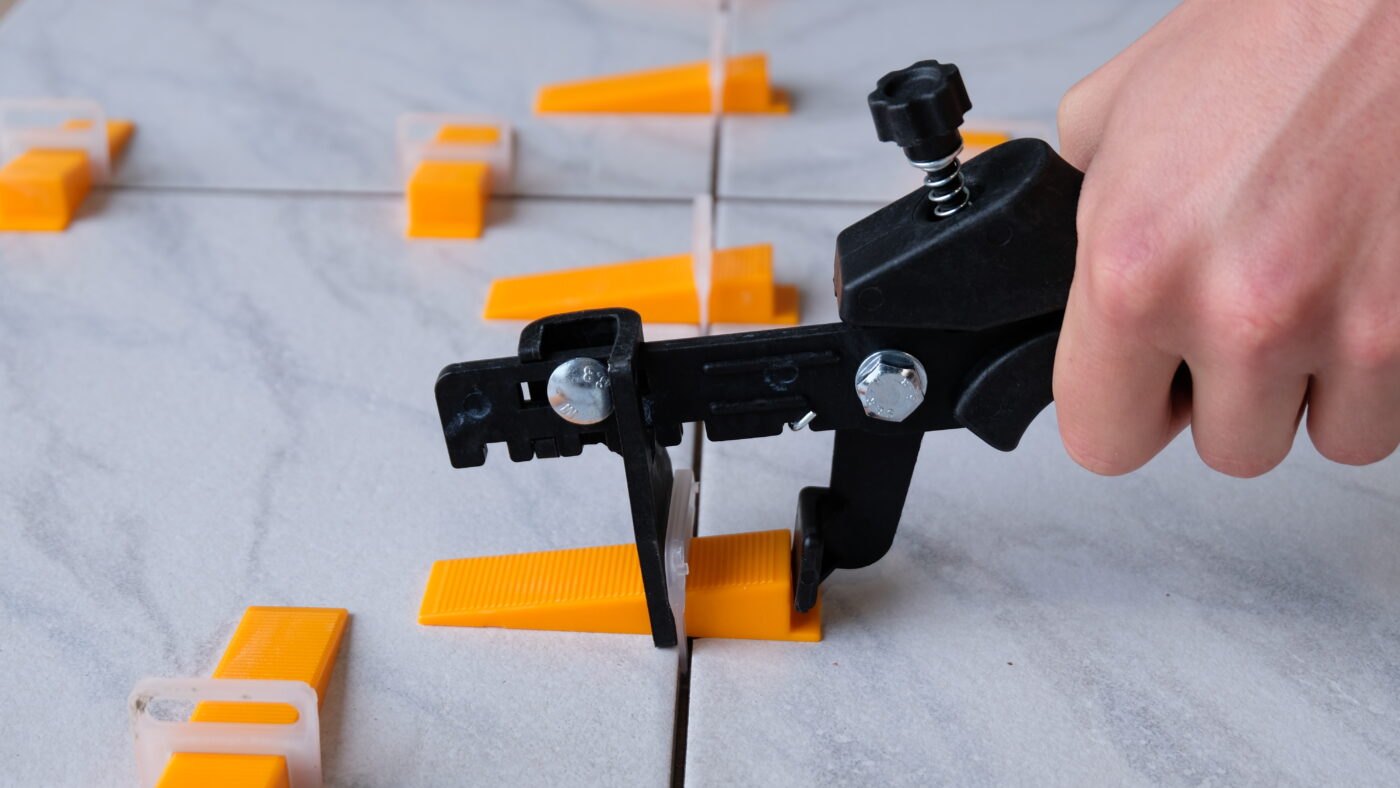
Using tile wedges to level the tiles is very simple. After you lay the first tile, place two clips on each side of the tiles that are not adjacent to the wall. After you have laid two rows of tiles with clips on the sides, it is time to place the first wedges. Slide them through the clips on the first row of tiles. Slide them through as far as you can. Next, use the pliers to press the clips and tile wedges even tighter. The pressure that the wedges place on the tiles will cause the tiles to level out. When the glue is dry, you can remove the chocks and clips. The result? A beautiful tile floor!

Interested in our products?
Request your brochure here!

Discover all our products and their applications by filling out your details here.