Levelit
be-en

Choose your region and language

Apply
English - Belgium

Buddy – Complete set – Wedges and clips

5-15mm tile thickness

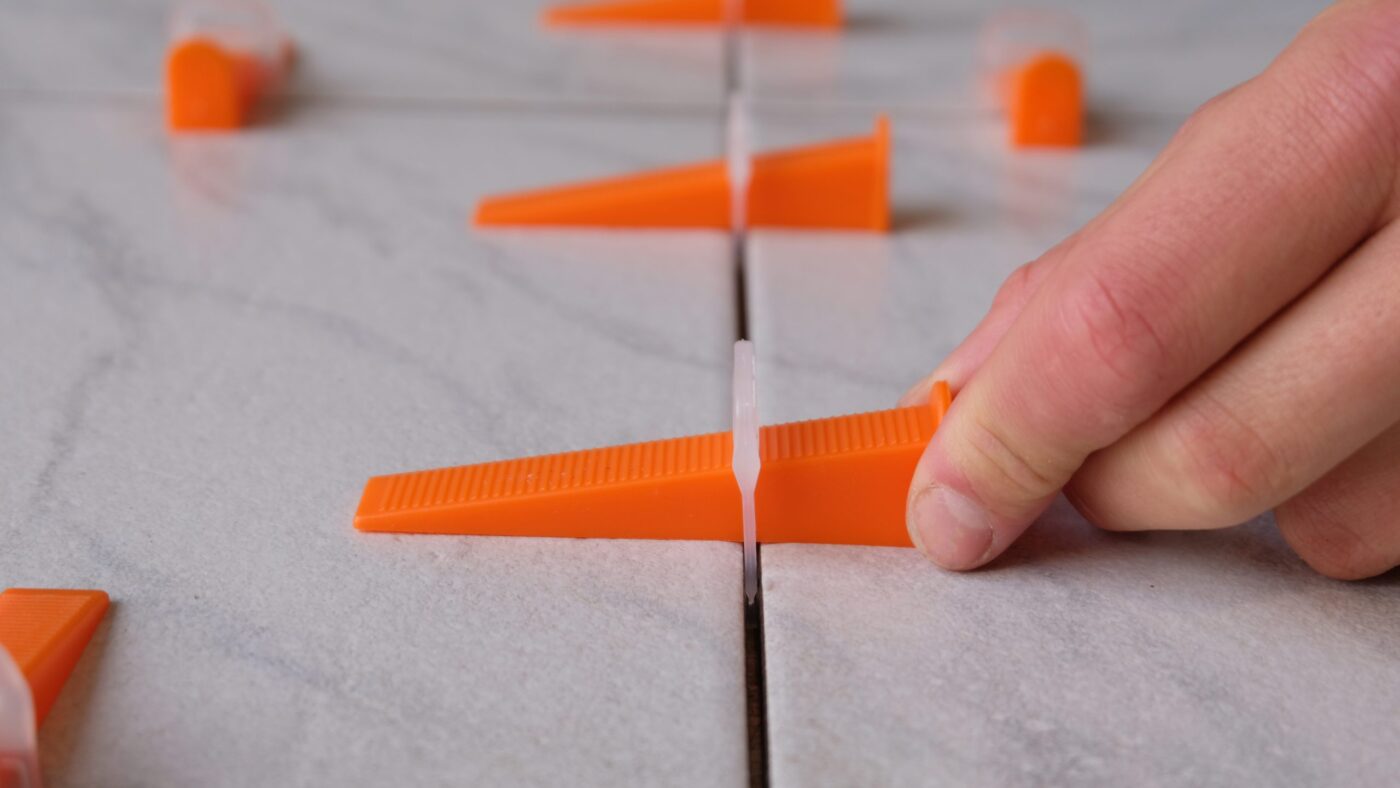
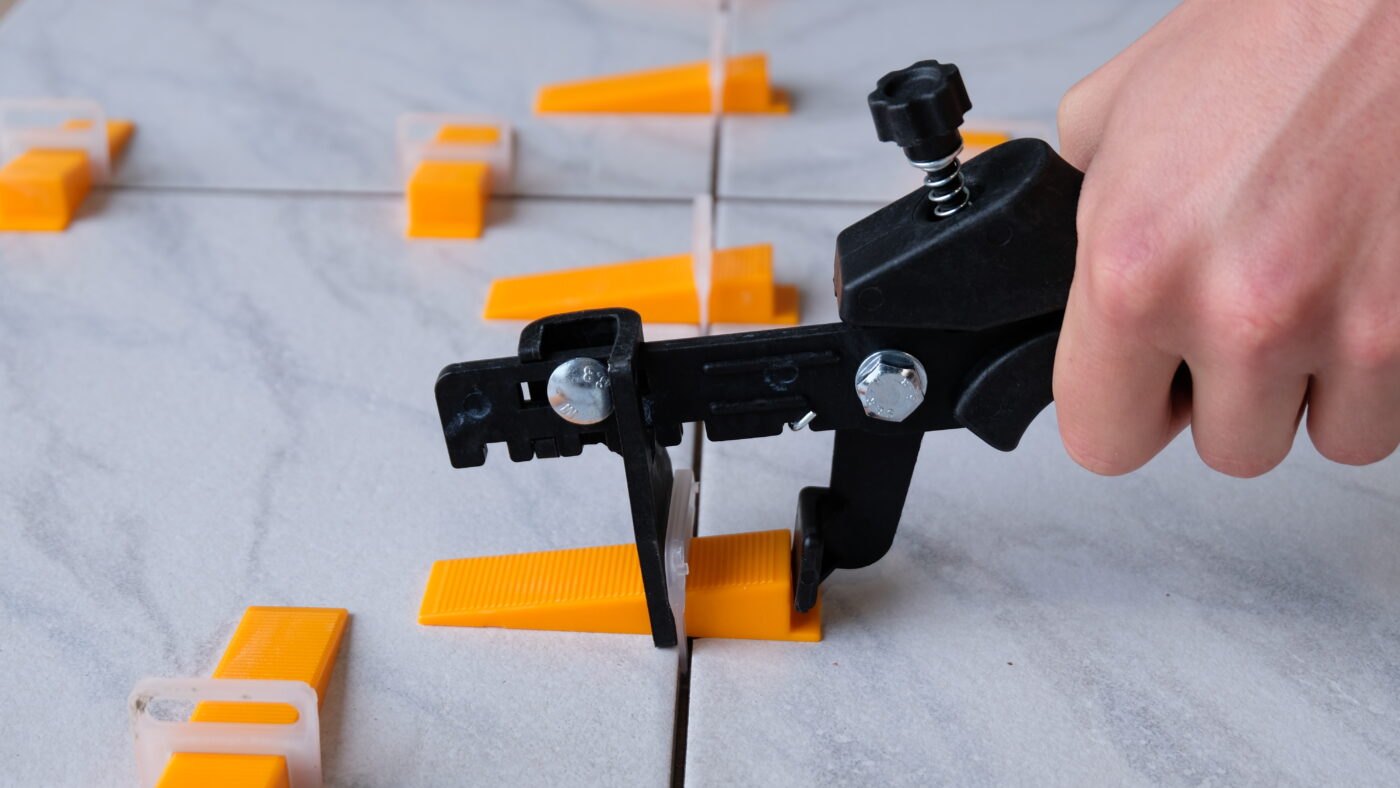
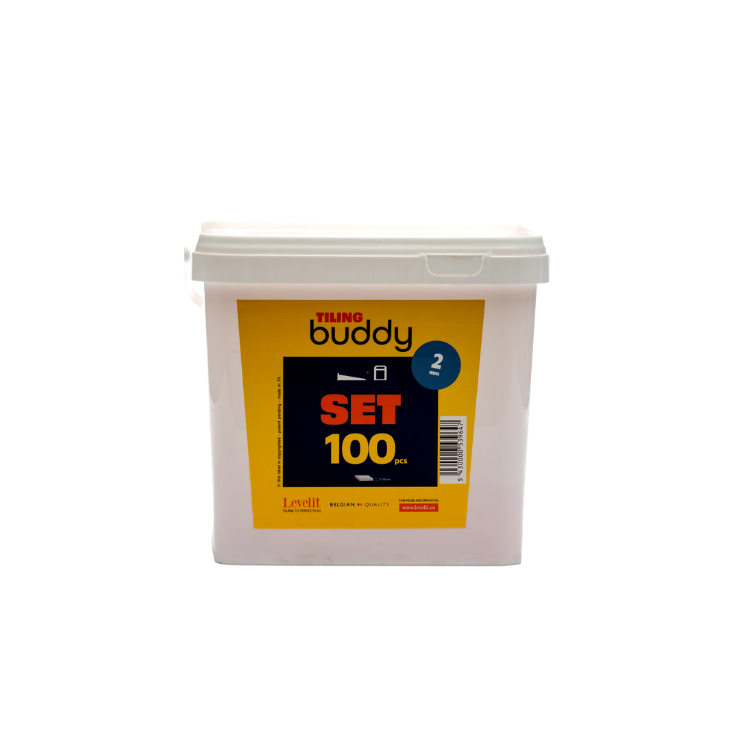
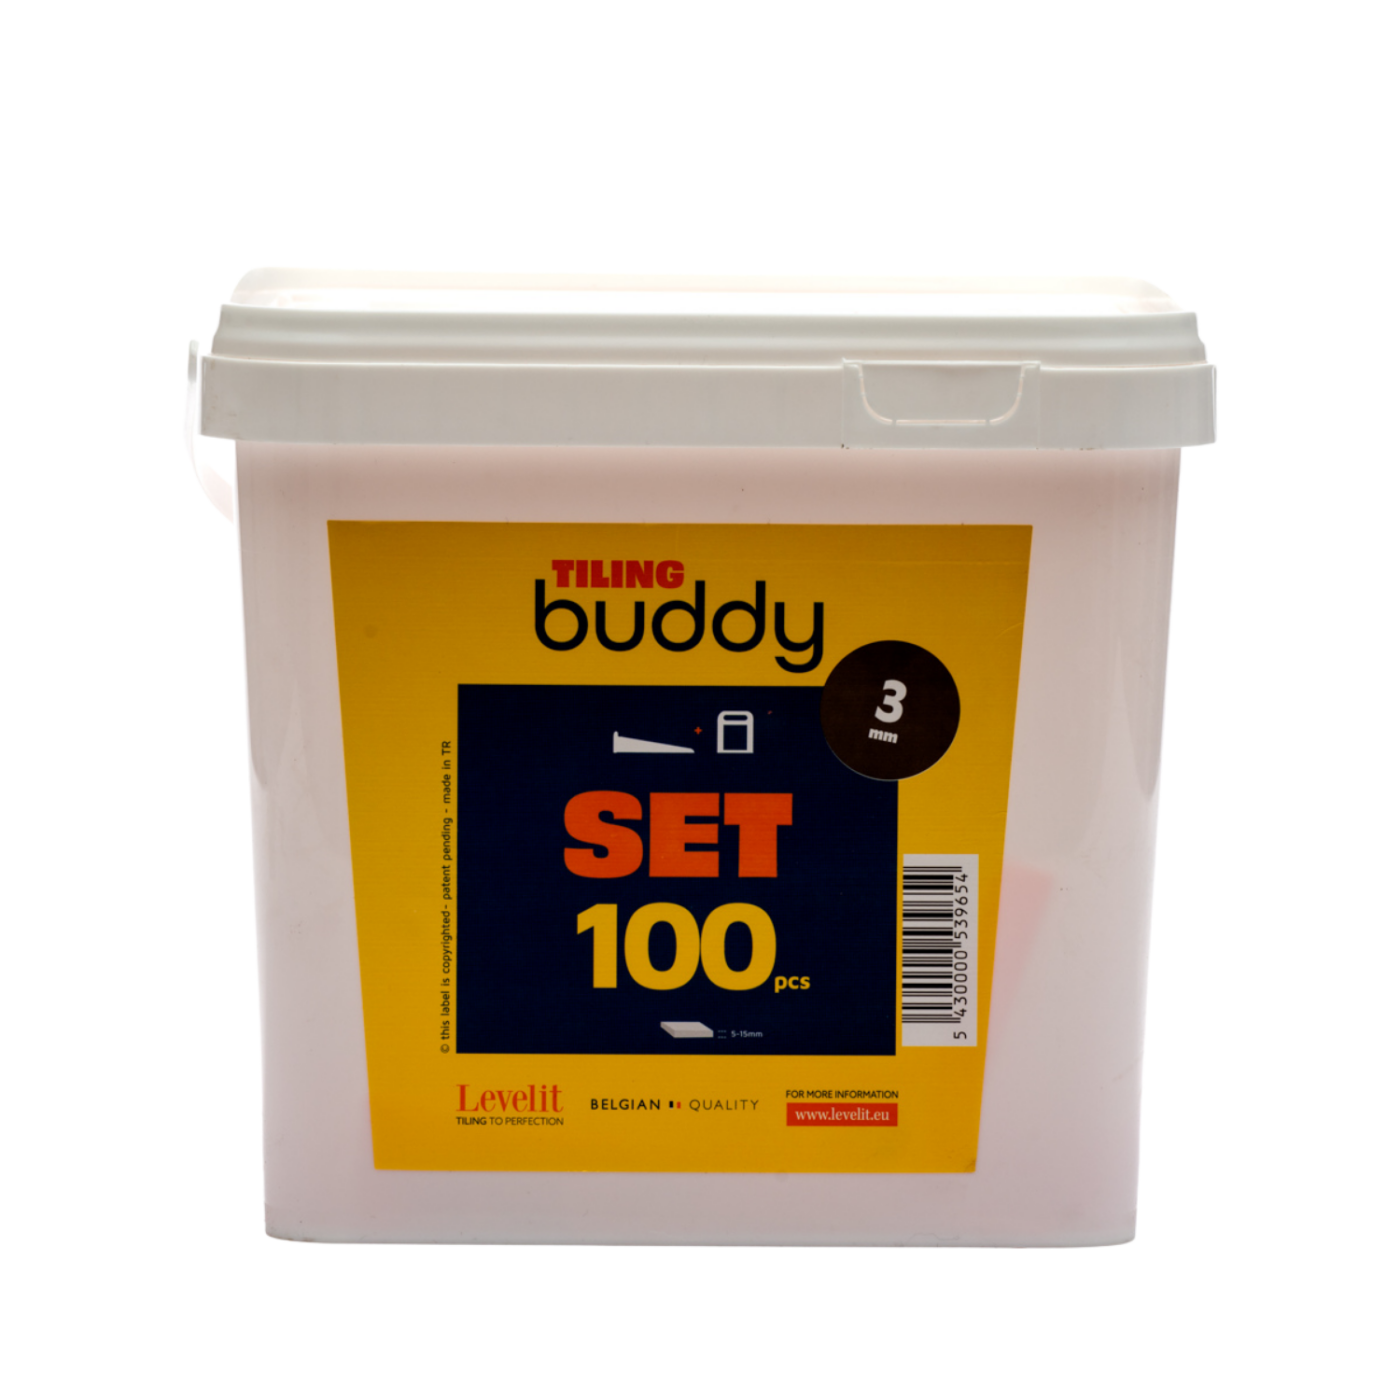
The Buddy wedge system is ideal for DIY. Use the Buddy to lay a flawless, level floor while ensuring the perfect joint width. The Buddy combines wedges and clips without any pliers, so it’s particularly suitable for small areas and medium-sized tiles (smaller than 60×60 mm)

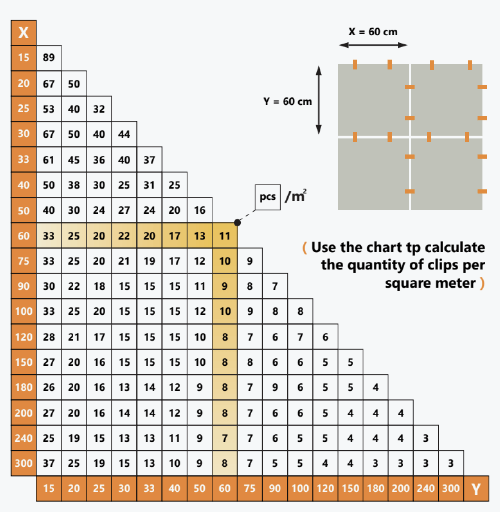
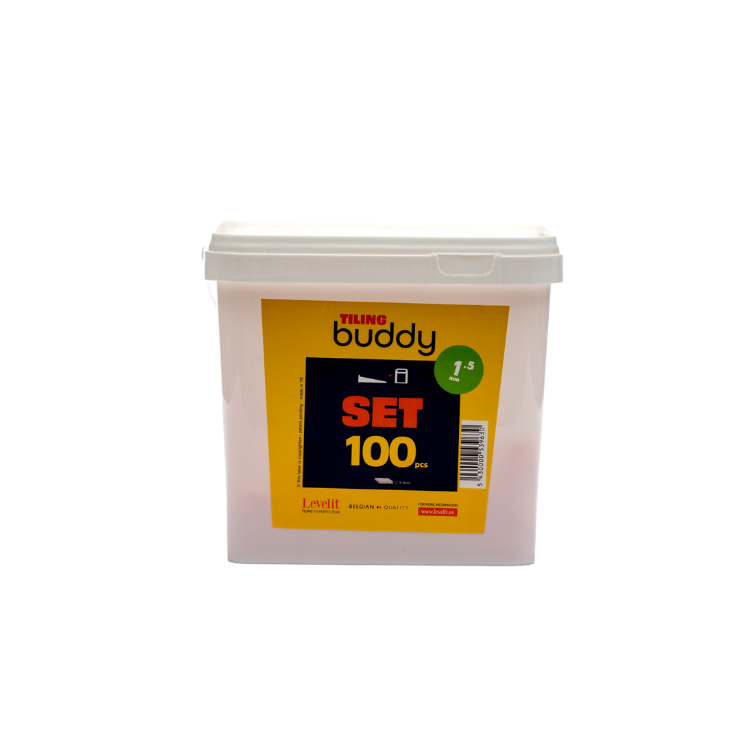
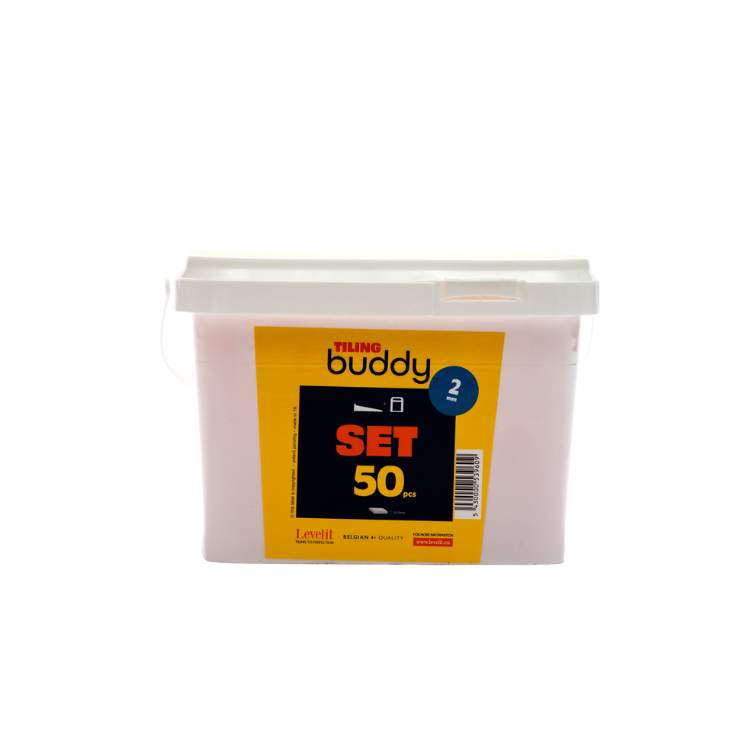
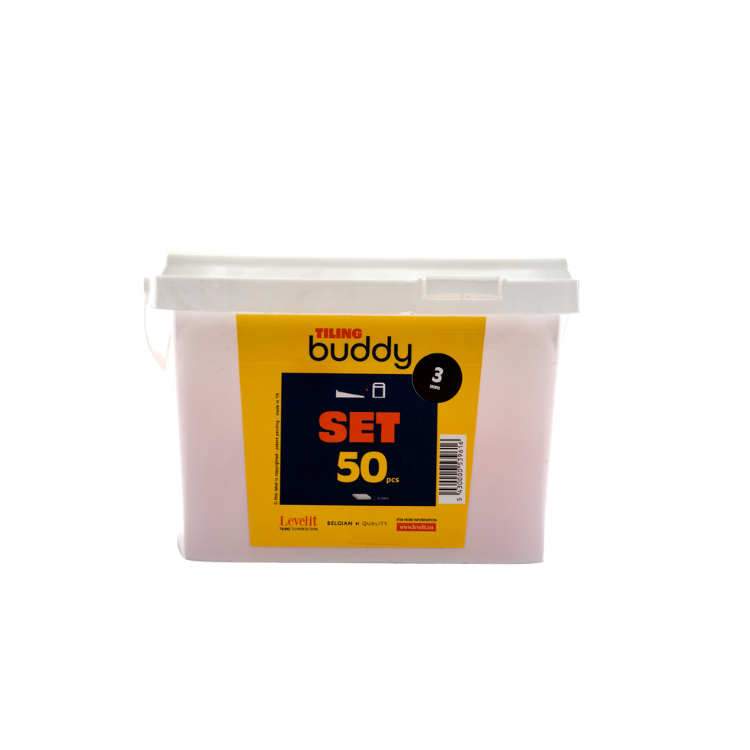
  • The right number of clips and wedges in a single pack
  • Easy to use without pliers
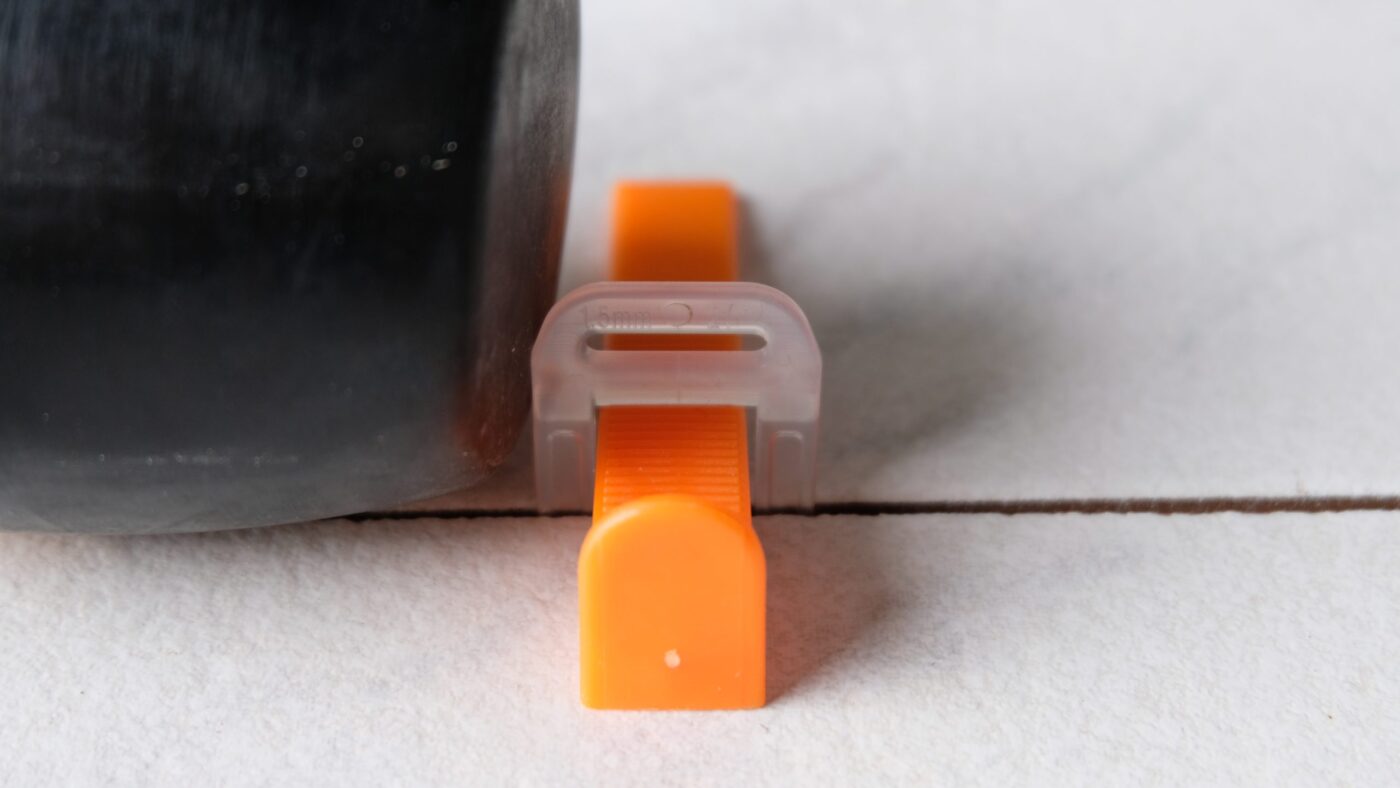
  • Always the right joint width
  • Perfectly aligned and level floor surface
Available in 1.5mm 2mm 3mm
Sets of 50 clips - 50 wedges / 100 clips - 100 wedges
Discover your personal discount from your dealer
  • Specifications
  • Description
  • Step-by-step guide
  • Consumption table
Joint widths
1.5mm 2mm 3mm
Tile thicknesses
5-15mm tile thickness
Package units
Sets of 50 clips - 50 wedges / 100 clips - 100 wedges

The Buddy Complete set – wedges and clips (5-15mm tile thickness) are suitable for various tile thicknesses and joint widths.

Our range is available in packs of:

  • 50 clips – 50 wedges
  • 100 clips – 100 wedges

Our wedges are also suitable for joint widths of:

  • 1 mm
  • 1,5 mm
  • 2 mm
  • 3 mm

The clips and wedges are suitable for tiles that are 5 – 15 mm thick.

These sets contain the same number of clips and wedges, so you can get started right away, and always have enough clips and wedges.

How many wedges and clips do I need?

The number of spacer clips and wedges required depends on the size of the tiles. You can find the recommended quantities on the “Calculation Chart” tab.

Use the calculator app to work out how many clips you need according to the tile size and surface area to be tiled.

Step 1: slide the clips under the tiles

After applying the tile adhesive, the clips are slid under the tile. Depending on the size of the tile, place one or more clips per side. Tap the tile.

Place the next tile after installing spacers.

* Depending on tile size, it may be necessary to use multiple spacers on each side.

* For tiles of approximately 20 cm, the use of two spacers per side is recommended.

In any case, 1mm spacers are used for 1mm tile joints, 2mm for 2mm joints, and 3mm for 3mm joints.

Step 1: slide the clips under the tiles

Step 2: apply the wedges

Insert the wedges into the clips slid under the tiles by hand. Carefully insert the wedges into the clips without exceeding the breaking point.

Step 2: apply the wedges

Step 3: Remove the clip

After this fixation, allow a drying time of 24 hours!

Once the tile adhesive has fully cured, the visible part of the clip can be removed. This is done with a rubber mallet or with the shoe in the direction of the joint.

* If using instant adhesive, wait for the adhesive to do its job.

Step 3: Remove the clip

The number of leveling clips and wedges required depends on the size of the tiles. You can find the recommended quantities in the chart below.

Use the calculator app to work out how many clips you need according to the tile size and surface area to be tiled.

It’s available for Android and iOS from the app store!

Google playApp store

Specifications
Joint widths
1.5mm 2mm 3mm
Tile thicknesses
5-15mm tile thickness
Package units
Sets of 50 clips - 50 wedges / 100 clips - 100 wedges
Description

The Buddy Complete set – wedges and clips (5-15mm tile thickness) are suitable for various tile thicknesses and joint widths.

Our range is available in packs of:

  • 50 clips – 50 wedges
  • 100 clips – 100 wedges

Our wedges are also suitable for joint widths of:

  • 1 mm
  • 1,5 mm
  • 2 mm
  • 3 mm

The clips and wedges are suitable for tiles that are 5 – 15 mm thick.

These sets contain the same number of clips and wedges, so you can get started right away, and always have enough clips and wedges.

How many wedges and clips do I need?

The number of spacer clips and wedges required depends on the size of the tiles. You can find the recommended quantities on the “Calculation Chart” tab.

Use the calculator app to work out how many clips you need according to the tile size and surface area to be tiled.

Step-by-step guide

Step 1: slide the clips under the tiles

After applying the tile adhesive, the clips are slid under the tile. Depending on the size of the tile, place one or more clips per side. Tap the tile.

Place the next tile after installing spacers.

* Depending on tile size, it may be necessary to use multiple spacers on each side.

* For tiles of approximately 20 cm, the use of two spacers per side is recommended.

In any case, 1mm spacers are used for 1mm tile joints, 2mm for 2mm joints, and 3mm for 3mm joints.

Step 1: slide the clips under the tiles

Step 2: apply the wedges

Insert the wedges into the clips slid under the tiles by hand. Carefully insert the wedges into the clips without exceeding the breaking point.

Step 2: apply the wedges

Step 3: Remove the clip

After this fixation, allow a drying time of 24 hours!

Once the tile adhesive has fully cured, the visible part of the clip can be removed. This is done with a rubber mallet or with the shoe in the direction of the joint.

* If using instant adhesive, wait for the adhesive to do its job.

Step 3: Remove the clip

Consumption table

The number of leveling clips and wedges required depends on the size of the tiles. You can find the recommended quantities in the chart below.

Use the calculator app to work out how many clips you need according to the tile size and surface area to be tiled.

It’s available for Android and iOS from the app store!

Google playApp store

Interested in our products, but still have questions?

Contact us!