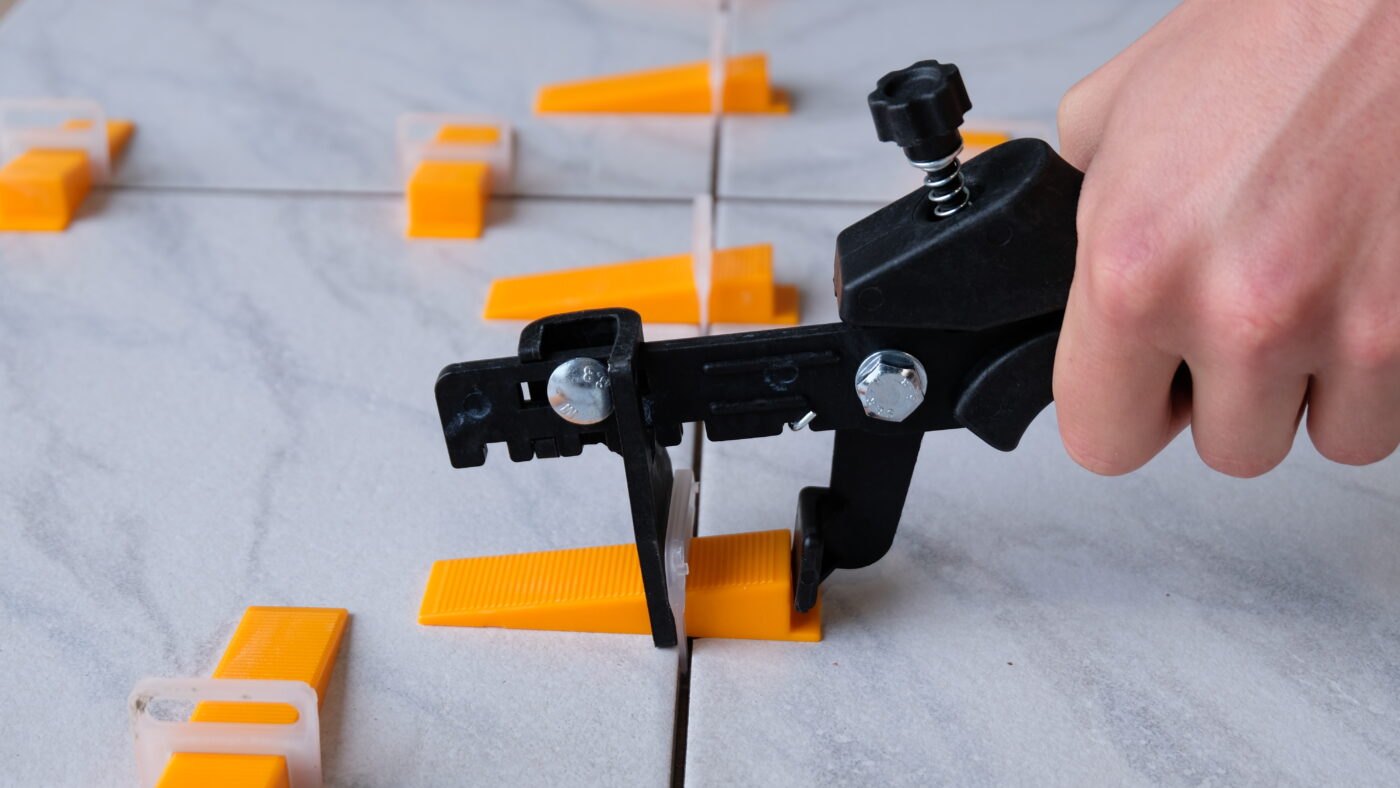
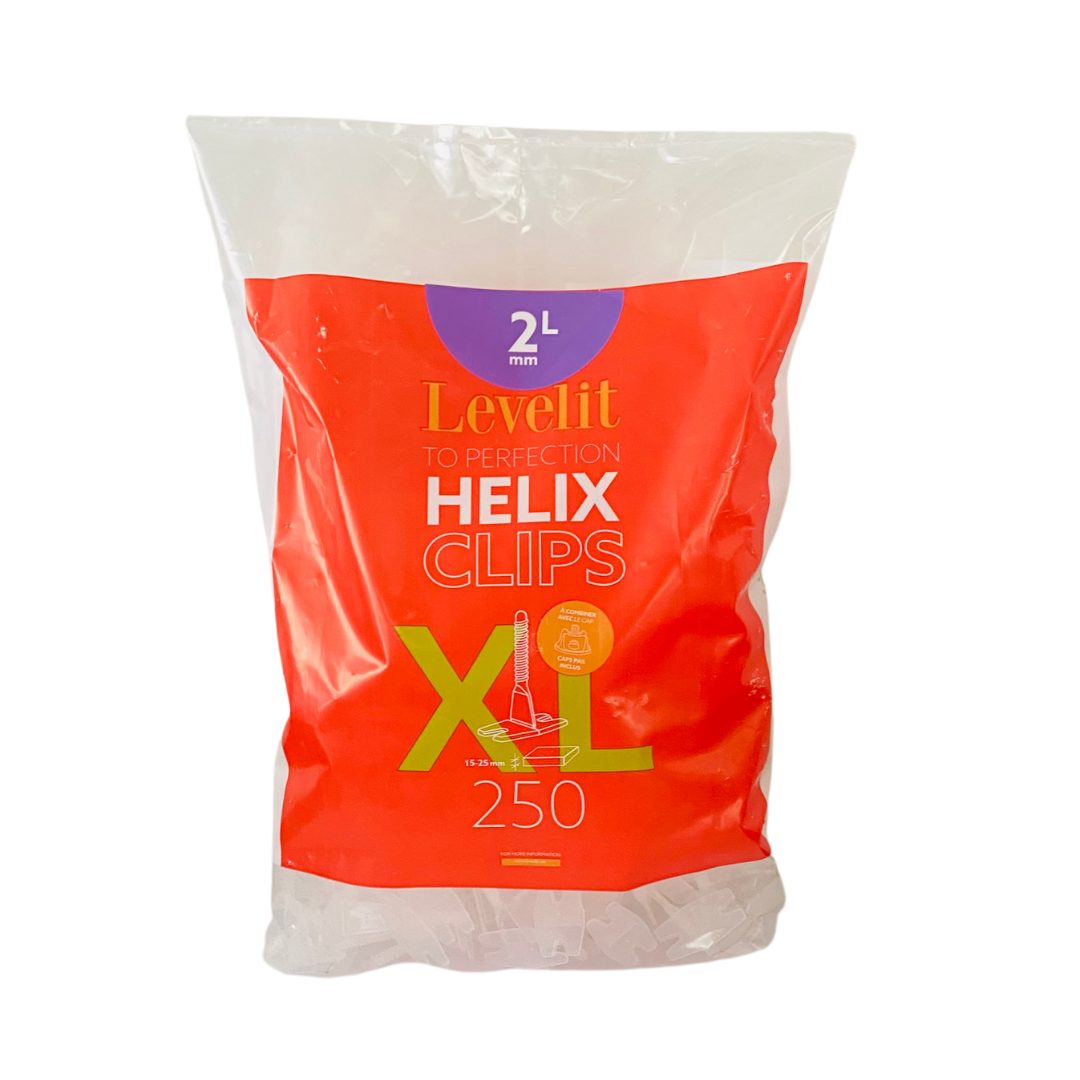
The Helix – Spacer Clips Long (15-25mm tile thickness) are suitable for different tile thicknesses.
Our range can be obtained in:
– 250 clips
In addition, our clips are suitable for joint widths:
– 2 mm
The clips are suitable for tiles with a thickness between 15 and 25 mm. Also for tiles with a thickness of 12-15 with the wedge separator.
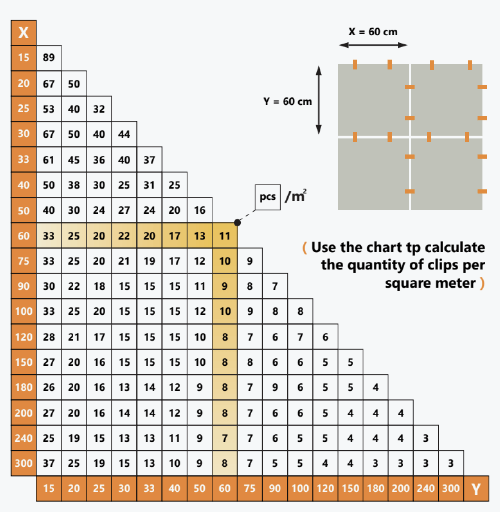
The number of Leveling clips and caps required depends on the size of the tiles. In the tab “Consumption table” you will find the consumption advice.
Through the App calculator you can have it calculated how many clips you need in function of the tile size and the area to be tiled.