Technische Eigenschaften
- Ideal für EXTRA dicke Fliesen
- Fliesenstärke: 22 bis 30 mm


Die Levelit XXL-Nivellierlaschen sorgen für eine präzise Ausrichtung dicker Fliesen und eine gleichmäßige Fugenbreite während der Verlegung. Sie sind für Fliesen mit einer Stärke von 22 bis 30 mm geeignet und tragen zu einem perfekt ebenen und professionellen Endergebnis bei.
Technische Eigenschaften
 | |  |  | |  |  | |  |  | |  | |
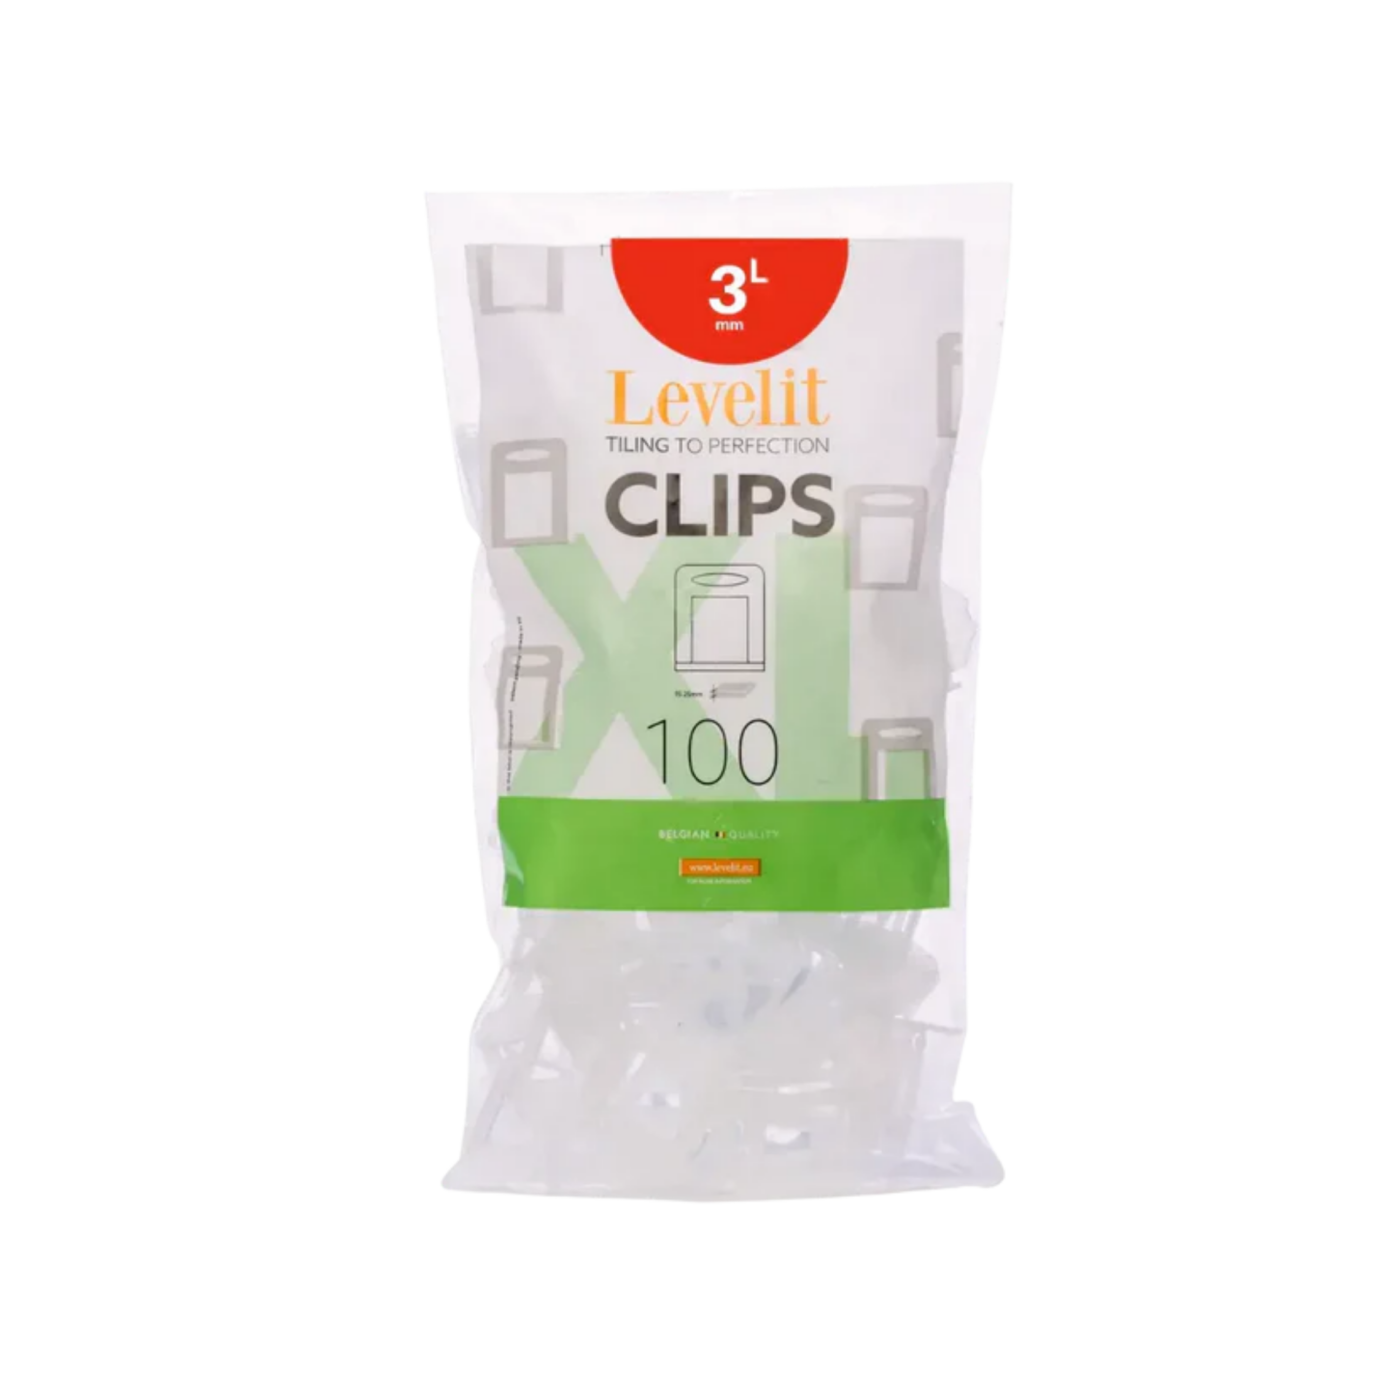
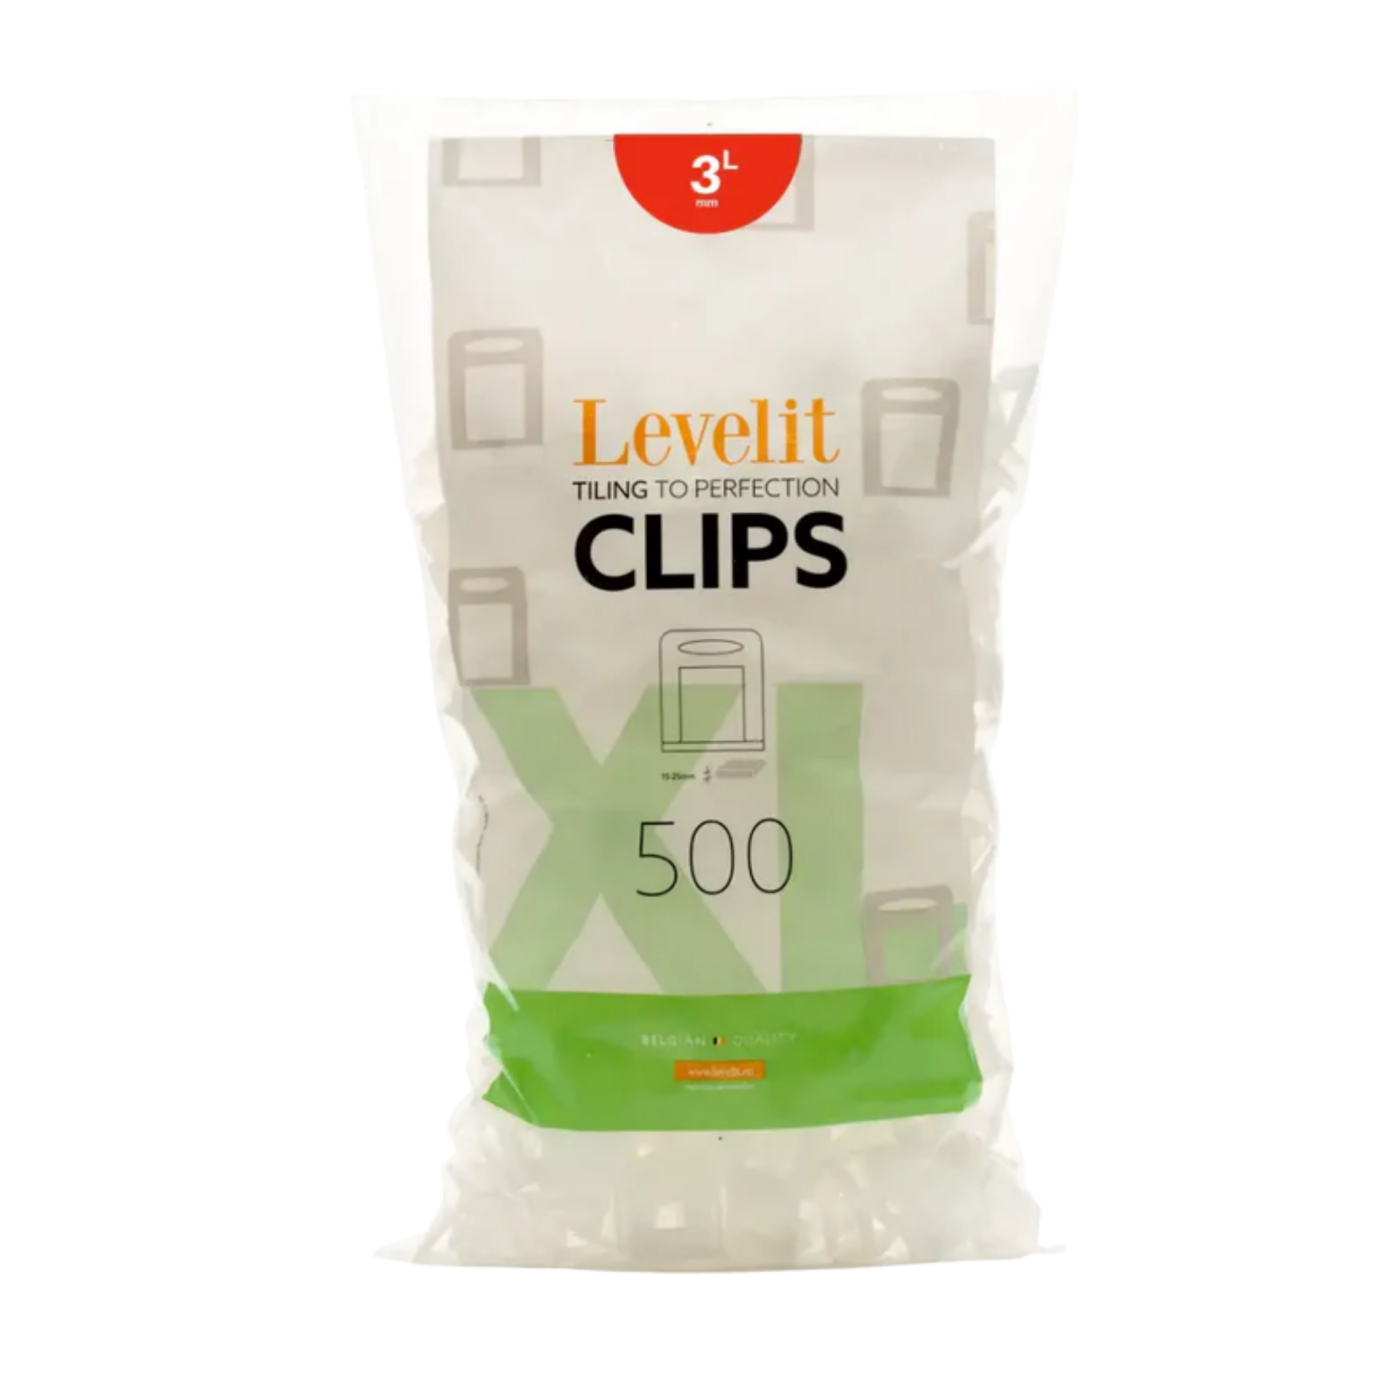
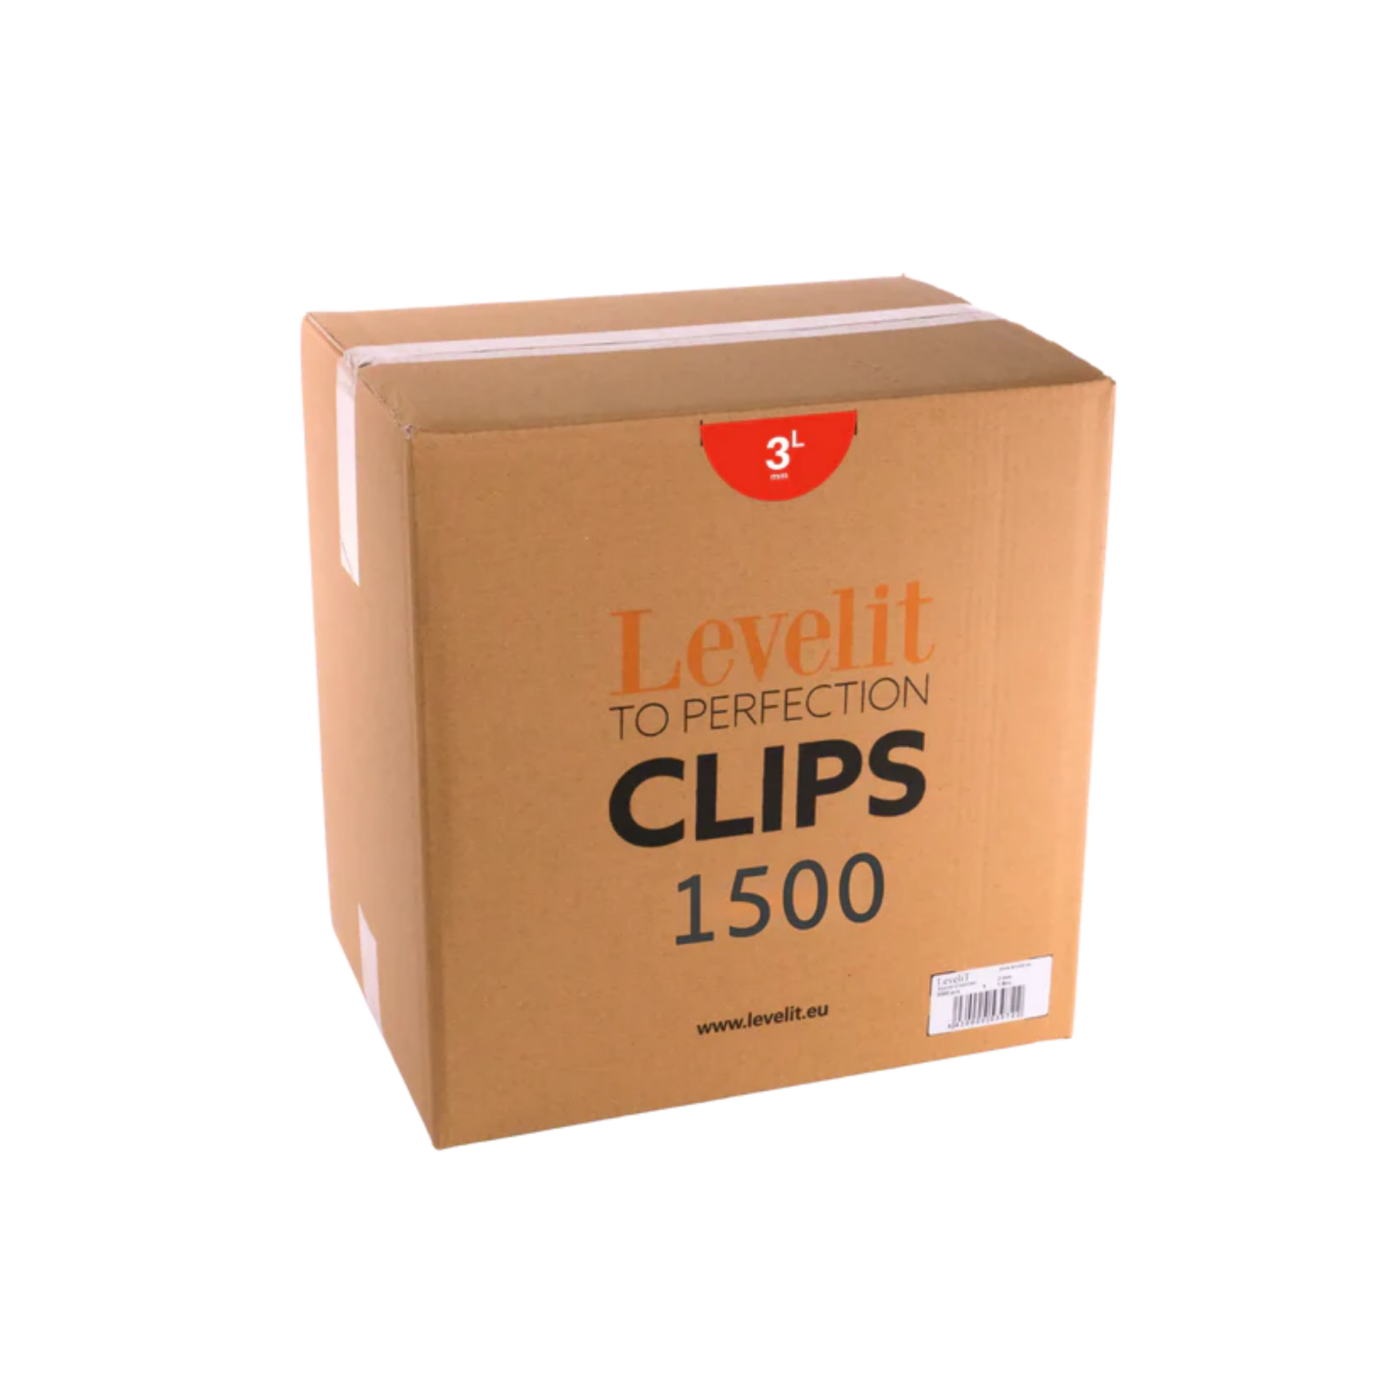
Spezifikationen | XL-LASCHEN 2 MM - 100 STÜCK | XXL-LASCHEN 3 MM - 100 STÜCK | XL-LASCHEN 4 MM - 100 STÜCK | XL-LASCHEN 2 MM - 250 STÜCK | XXL-LASCHEN 3 MM - 250 STÜCK | XXL-LASCHEN 4 MM - 250 STÜCK | XL-LASCHEN 2 MM - 500 STÜCK | XXL-LASCHEN 3 MM - 500 STÜCK | XL-LASCHEN 4 MM - 500 STÜCK | XL-LASCHEN 2 MM - 1500 STÜCK | XXL-LASCHEN 3 MM - 1500 STÜCK | XL-LASCHEN 4 MM - 1500 STÜCK |
Ref.-Nr. | TT100-2L | TT100-3L | TT100-4L | TT250-2L | TT250-3L | TT250-4L | TT500-2L | TT500-3L | TT500-4L | TT1500-2L | TT1500-3L | TT1500-4L |
EAN-Code | 5430000539159 | 5430000539661 | 5430003605110 | 5430000539166 | 5430000539661 | 5430000539197 | 5430000539173 | 5430003605103 | 5430003605127 | 5430000539777 | 5430000539470 | 5430003605134 |
Fugenbreite | 2 mm | 3 mm | 4 mm | 2 mm | 3 mm | 4 mm | 2 mm | 3 mm | 4 mm | 2 mm | 3 mm | 4 mm |
Verpackung | 100 Stück | 100 Stück | 100 Stück | 250 Stück | 250 Stück | 250 Stück | 500 Stück | 500 Stück | 500 Stück | 1500 Stück | 1500 Stück | 1500 Stück |
Fliesenstärke | 15 - 25 mm | 22 - 30 mm | 15 - 25 mm | 15 - 25 mm | 22 - 30 mm | 15 - 25 mm | 15 - 25 mm | 22 - 30 mm | 15 - 25 mm | 15 - 25 mm | 22 - 30 mm | 15 - 25 mm |
Dokumente | Produktblatt | Produktblatt | Produktblatt | Produktblatt | Produktblatt | Produktblatt | Produktblatt | Produktblatt | Produktblatt | Produktblatt | Produktblatt | Produktblatt |
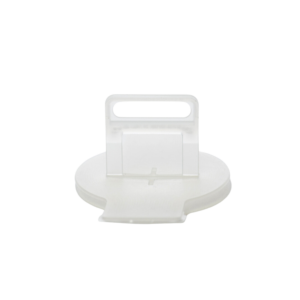
Die XXL-Nivellierlaschen von LEVELIT sind speziell für die Verlegung von EXTRA dicken Fliesen und Naturstein mit einer Stärke von 22 bis 30 mm entwickelt. Sie sorgen für eine perfekte Ausrichtung benachbarter Fliesen, eine gleichmäßige Fugenbreite und eine absolut ebene Oberfläche. Dadurch werden Höhenunterschiede zwischen den Fliesen vermieden und ein sauberes, professionelles Verlegebild gewährleistet.
Dank ihrer robusten Konstruktion und der T-förmigen Basis bieten die XL-Laschen zusätzliche Stabilität bei der Verlegung schwerer und dicker Fliesen. Sie werden aus hochwertigem, reinem Polypropylen gefertigt und verfügen über eine präzise Sollbruchstelle an der Basis, wodurch sie sich nach dem Aushärten des Klebers einfach und sauber entfernen lassen.
In Kombination mit den LEVELIT-Keilen und der Nivellierzange bilden die XXL-Laschen ein zuverlässiges Nivelliersystem für anspruchsvolle Fliesenprojekte. Sie sind ideal für großformatige Keramikfliesen, Terrassenplatten und Naturstein, wenn ein perfekt ebenes Ergebnis entscheidend ist.
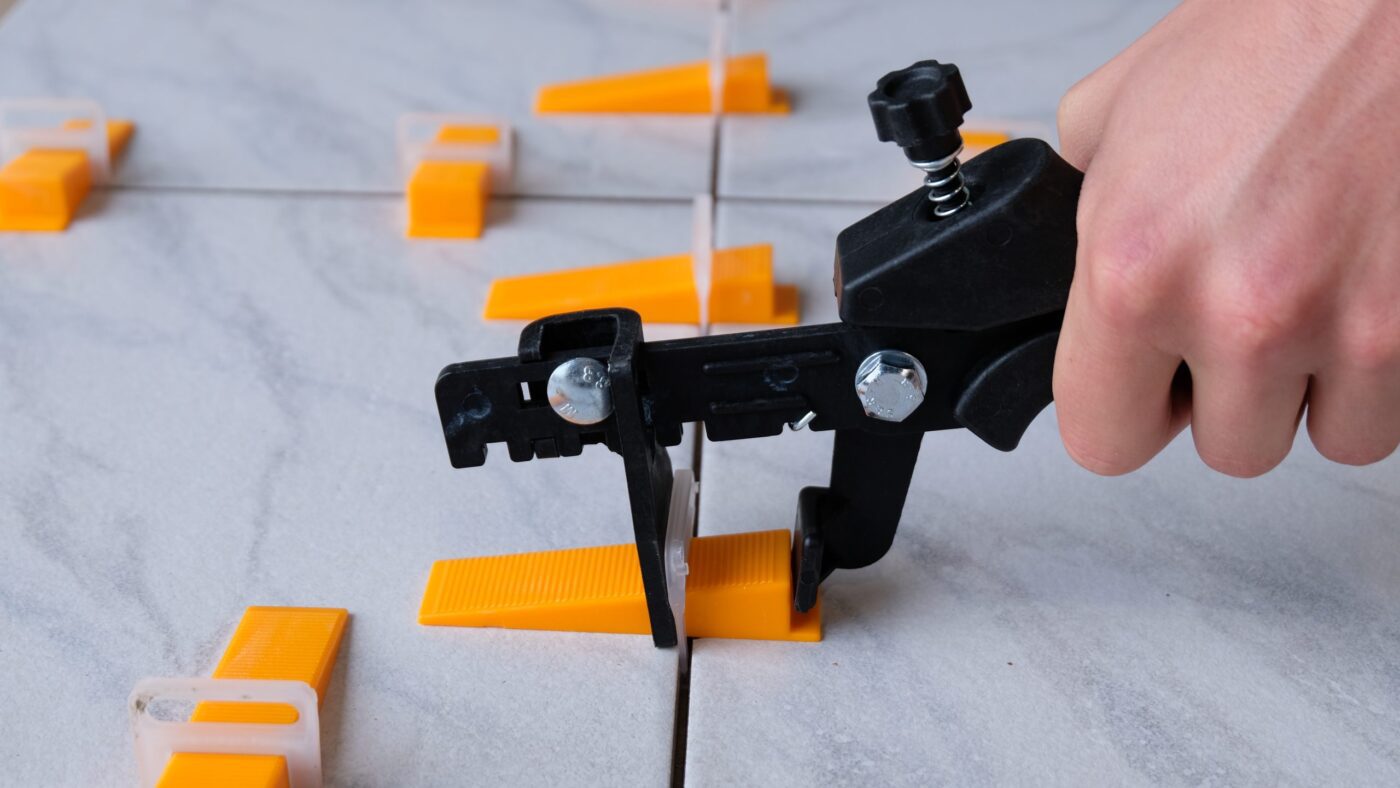
Trage stets ausreichend Fliesenkleber auf und verlege die erste Fliese. Überprüfe, ob diese Fliese vollständig waagerecht liegt, bevor du mit der weiteren Arbeit fortfährst.
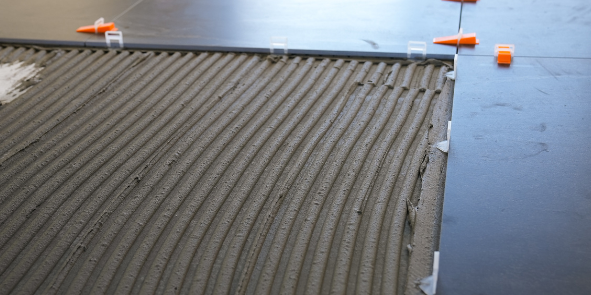
Schiebe die Lasche(n) unter die Fliese und drücke die Fliese leicht an. Verlege anschließend die nächste Fliese, nachdem du die Laschen angebracht hast. Achte darauf, dass die Fliese auf dem Fuß der Lasche aufliegt. Je nach Fliesenformat platzierst du eine oder mehrere Laschen pro Seite. Klopfe die Fliese leicht an.

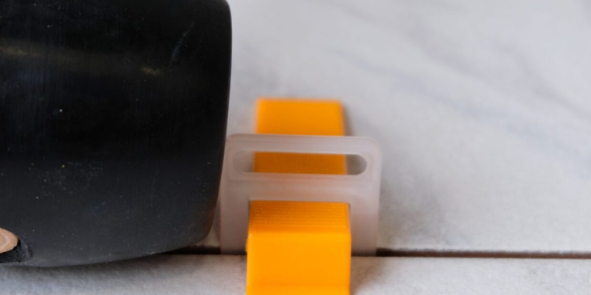
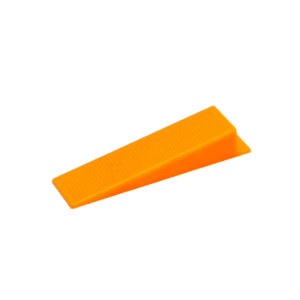
Schiebe den Keil durch die Öffnung der Lasche. Verwende eine Nivellierzange, um den Keil mit ausreichender Kraft durch die Lasche zu drücken, bis die Fliesen perfekt eben liegen.
Tipp: Entferne den Keil noch nicht.

Lasse den Keil nach dem Fixieren weniger als 24 Stunden sitzen. Sobald der Fliesenkleber FAST vollständig ausgehärtet ist, können die Lasche und der Keil einfach mit einem Gummihammer oder mit dem Fuß entfernt werden.
Tipp: Breche die Lasche und den Keil immer in Richtung der Fuge ab.
Entferne die Keile aus den Laschen. Die Keile können wiederverwendet werden.
Die Anzahl der benötigten Zuglaschen und Keile hängt von verschiedenen Faktoren ab, wie dem Format der Fliesen und der Größe der zu fliesenden Fläche. Beachten Sie untenstehend die Verbrauchsempfehlung.
 Schritt 1
Messen Sie die Länge und die Breite der Fliese. Suchen Sie diese Maße anschließend in der nebenstehenden Berechnungstabelle. Der Schnittpunkt beider Maße gibt die Anzahl der benötigten Zuglaschen pro m2 an.
Berechnen Sie die Gesamtfläche der zu fliesenden Oberfläche in m2. Multiplizieren Sie hierzu die Länge mit der Breite des Raums.
Multiplizieren Sie die Anzahl der Zuglaschen pro m2 (aus Schritt 1) mit der Gesamtfläche der zu fliesenden Oberfläche (aus Schritt 2). So erhalten Sie die Gesamtanzahl an Zuglaschen, die für Ihr Projekt benötigt wird.
| | | | | | | | | | | | | |
Spezifikationen | XL-LASCHEN 2 MM - 100 STÜCK | XXL-LASCHEN 3 MM - 100 STÜCK | XL-LASCHEN 4 MM - 100 STÜCK | XL-LASCHEN 2 MM - 250 STÜCK | XXL-LASCHEN 3 MM - 250 STÜCK | XXL-LASCHEN 4 MM - 250 STÜCK | XL-LASCHEN 2 MM - 500 STÜCK | XXL-LASCHEN 3 MM - 500 STÜCK | XL-LASCHEN 4 MM - 500 STÜCK | XL-LASCHEN 2 MM - 1500 STÜCK | XXL-LASCHEN 3 MM - 1500 STÜCK | XL-LASCHEN 4 MM - 1500 STÜCK |
Ref.-Nr. | TT100-2L | TT100-3L | TT100-4L | TT250-2L | TT250-3L | TT250-4L | TT500-2L | TT500-3L | TT500-4L | TT1500-2L | TT1500-3L | TT1500-4L |
EAN-Code | 5430000539159 | 5430000539661 | 5430003605110 | 5430000539166 | 5430000539661 | 5430000539197 | 5430000539173 | 5430003605103 | 5430003605127 | 5430000539777 | 5430000539470 | 5430003605134 |
Fugenbreite | 2 mm | 3 mm | 4 mm | 2 mm | 3 mm | 4 mm | 2 mm | 3 mm | 4 mm | 2 mm | 3 mm | 4 mm |
Verpackung | 100 Stück | 100 Stück | 100 Stück | 250 Stück | 250 Stück | 250 Stück | 500 Stück | 500 Stück | 500 Stück | 1500 Stück | 1500 Stück | 1500 Stück |
Fliesenstärke | 15 - 25 mm | 22 - 30 mm | 15 - 25 mm | 15 - 25 mm | 22 - 30 mm | 15 - 25 mm | 15 - 25 mm | 22 - 30 mm | 15 - 25 mm | 15 - 25 mm | 22 - 30 mm | 15 - 25 mm |
Dokumente | Produktblatt | Produktblatt | Produktblatt | Produktblatt | Produktblatt | Produktblatt | Produktblatt | Produktblatt | Produktblatt | Produktblatt | Produktblatt | Produktblatt |
Die XXL-Nivellierlaschen von LEVELIT sind speziell für die Verlegung von EXTRA dicken Fliesen und Naturstein mit einer Stärke von 22 bis 30 mm entwickelt. Sie sorgen für eine perfekte Ausrichtung benachbarter Fliesen, eine gleichmäßige Fugenbreite und eine absolut ebene Oberfläche. Dadurch werden Höhenunterschiede zwischen den Fliesen vermieden und ein sauberes, professionelles Verlegebild gewährleistet.
Dank ihrer robusten Konstruktion und der T-förmigen Basis bieten die XL-Laschen zusätzliche Stabilität bei der Verlegung schwerer und dicker Fliesen. Sie werden aus hochwertigem, reinem Polypropylen gefertigt und verfügen über eine präzise Sollbruchstelle an der Basis, wodurch sie sich nach dem Aushärten des Klebers einfach und sauber entfernen lassen.
In Kombination mit den LEVELIT-Keilen und der Nivellierzange bilden die XXL-Laschen ein zuverlässiges Nivelliersystem für anspruchsvolle Fliesenprojekte. Sie sind ideal für großformatige Keramikfliesen, Terrassenplatten und Naturstein, wenn ein perfekt ebenes Ergebnis entscheidend ist.
Trage stets ausreichend Fliesenkleber auf und verlege die erste Fliese. Überprüfe, ob diese Fliese vollständig waagerecht liegt, bevor du mit der weiteren Arbeit fortfährst.
Schiebe die Lasche(n) unter die Fliese und drücke die Fliese leicht an. Verlege anschließend die nächste Fliese, nachdem du die Laschen angebracht hast. Achte darauf, dass die Fliese auf dem Fuß der Lasche aufliegt. Je nach Fliesenformat platzierst du eine oder mehrere Laschen pro Seite. Klopfe die Fliese leicht an.
Schiebe den Keil durch die Öffnung der Lasche. Verwende eine Nivellierzange, um den Keil mit ausreichender Kraft durch die Lasche zu drücken, bis die Fliesen perfekt eben liegen.
Tipp: Entferne den Keil noch nicht.
Lasse den Keil nach dem Fixieren weniger als 24 Stunden sitzen. Sobald der Fliesenkleber FAST vollständig ausgehärtet ist, können die Lasche und der Keil einfach mit einem Gummihammer oder mit dem Fuß entfernt werden.
Tipp: Breche die Lasche und den Keil immer in Richtung der Fuge ab.
Entferne die Keile aus den Laschen. Die Keile können wiederverwendet werden.
Die Anzahl der benötigten Zuglaschen und Keile hängt von verschiedenen Faktoren ab, wie dem Format der Fliesen und der Größe der zu fliesenden Fläche. Beachten Sie untenstehend die Verbrauchsempfehlung.
Schritt 1Messen Sie die Länge und die Breite der Fliese. Suchen Sie diese Maße anschließend in der nebenstehenden Berechnungstabelle. Der Schnittpunkt beider Maße gibt die Anzahl der benötigten Zuglaschen pro m2 an.
Berechnen Sie die Gesamtfläche der zu fliesenden Oberfläche in m2. Multiplizieren Sie hierzu die Länge mit der Breite des Raums.
Multiplizieren Sie die Anzahl der Zuglaschen pro m2 (aus Schritt 1) mit der Gesamtfläche der zu fliesenden Oberfläche (aus Schritt 2). So erhalten Sie die Gesamtanzahl an Zuglaschen, die für Ihr Projekt benötigt wird.

![]()
![]()