Levelit
be-en

Choose your region and language

Apply
English - Belgium

Helix – Spacer caps

3-17 mm tile thickness

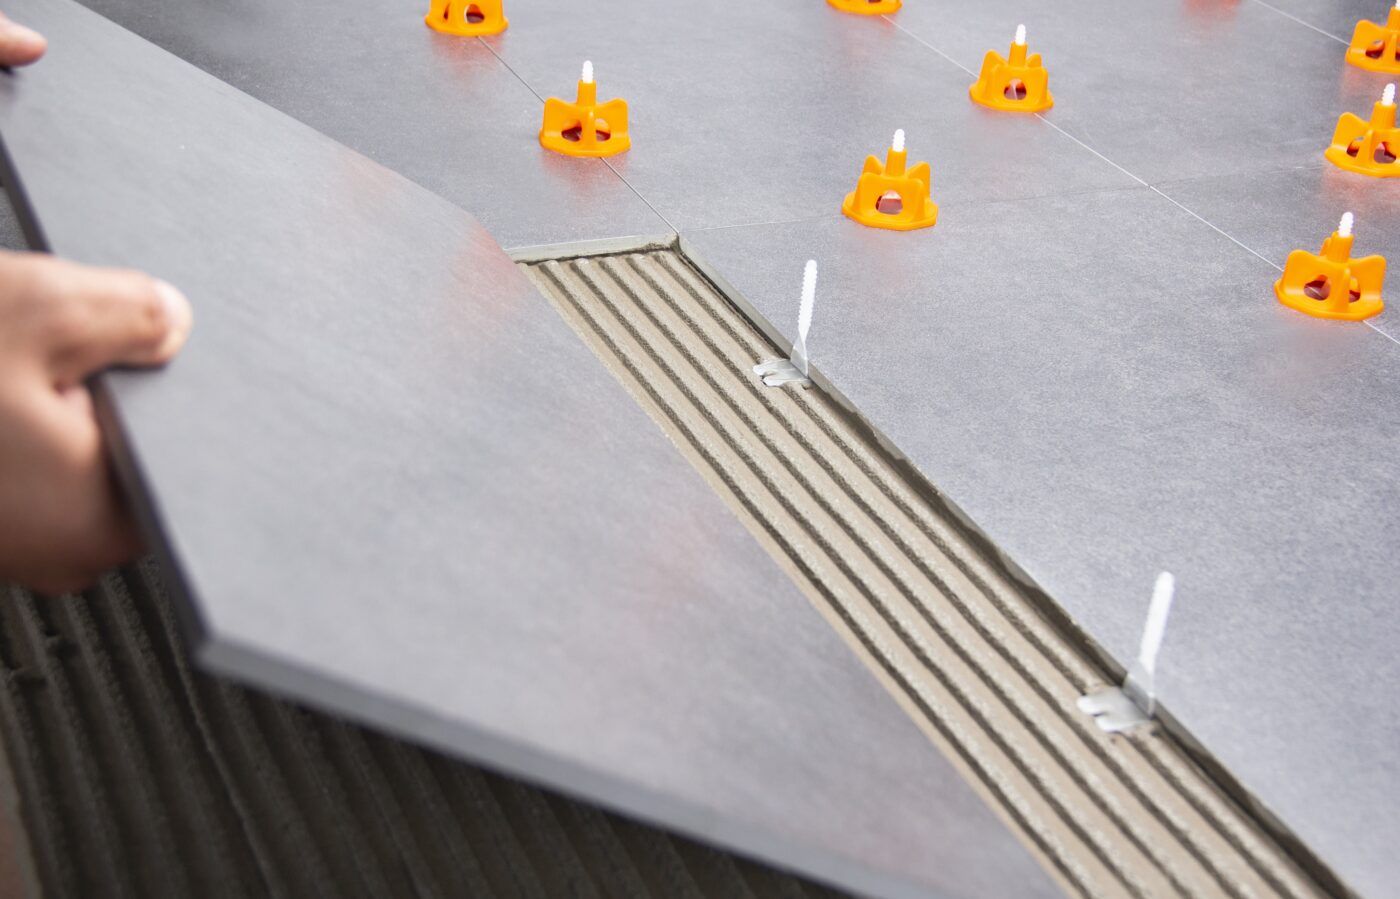
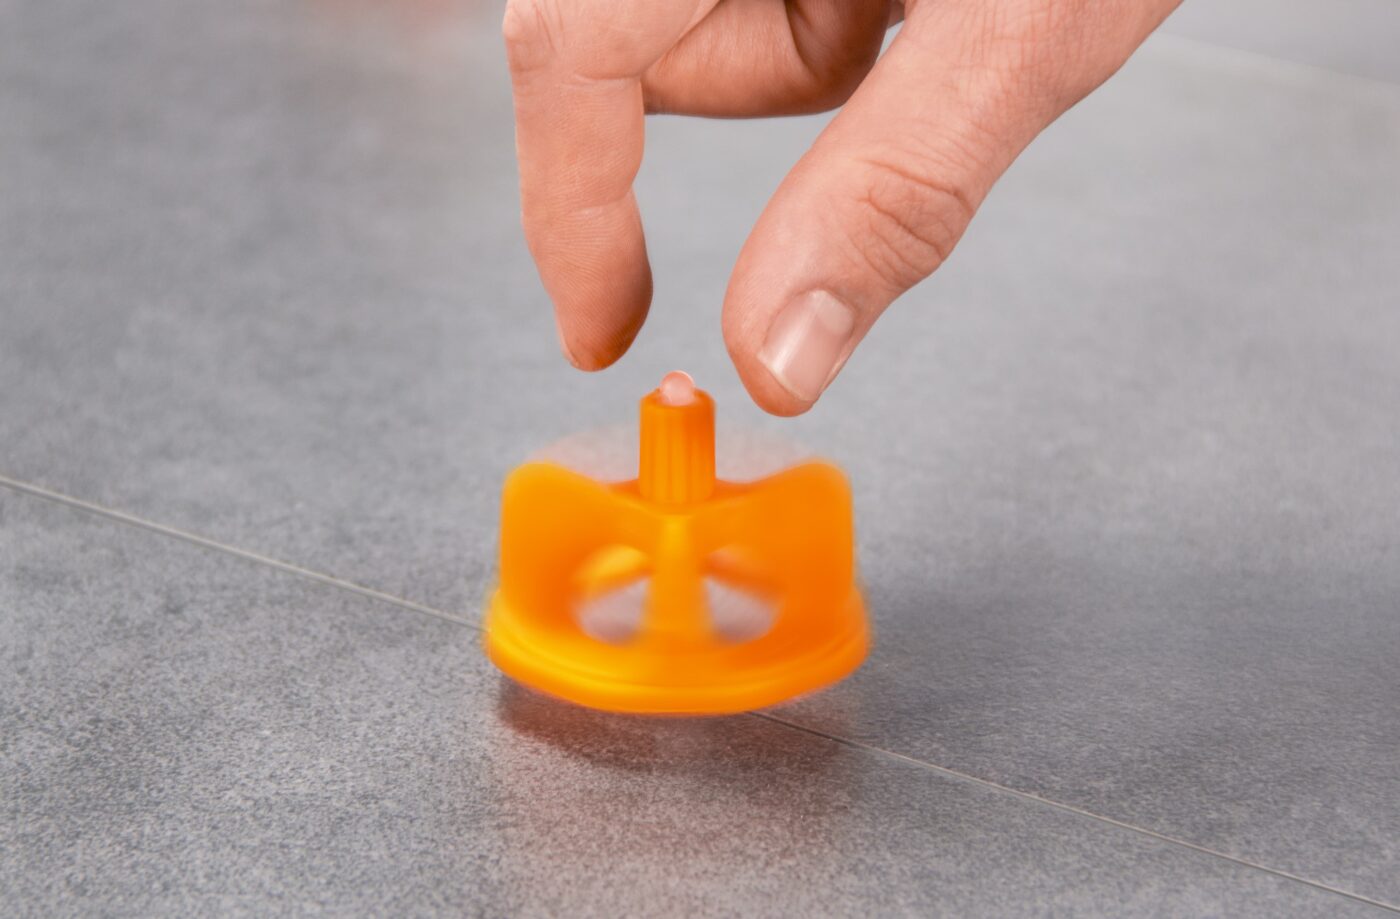
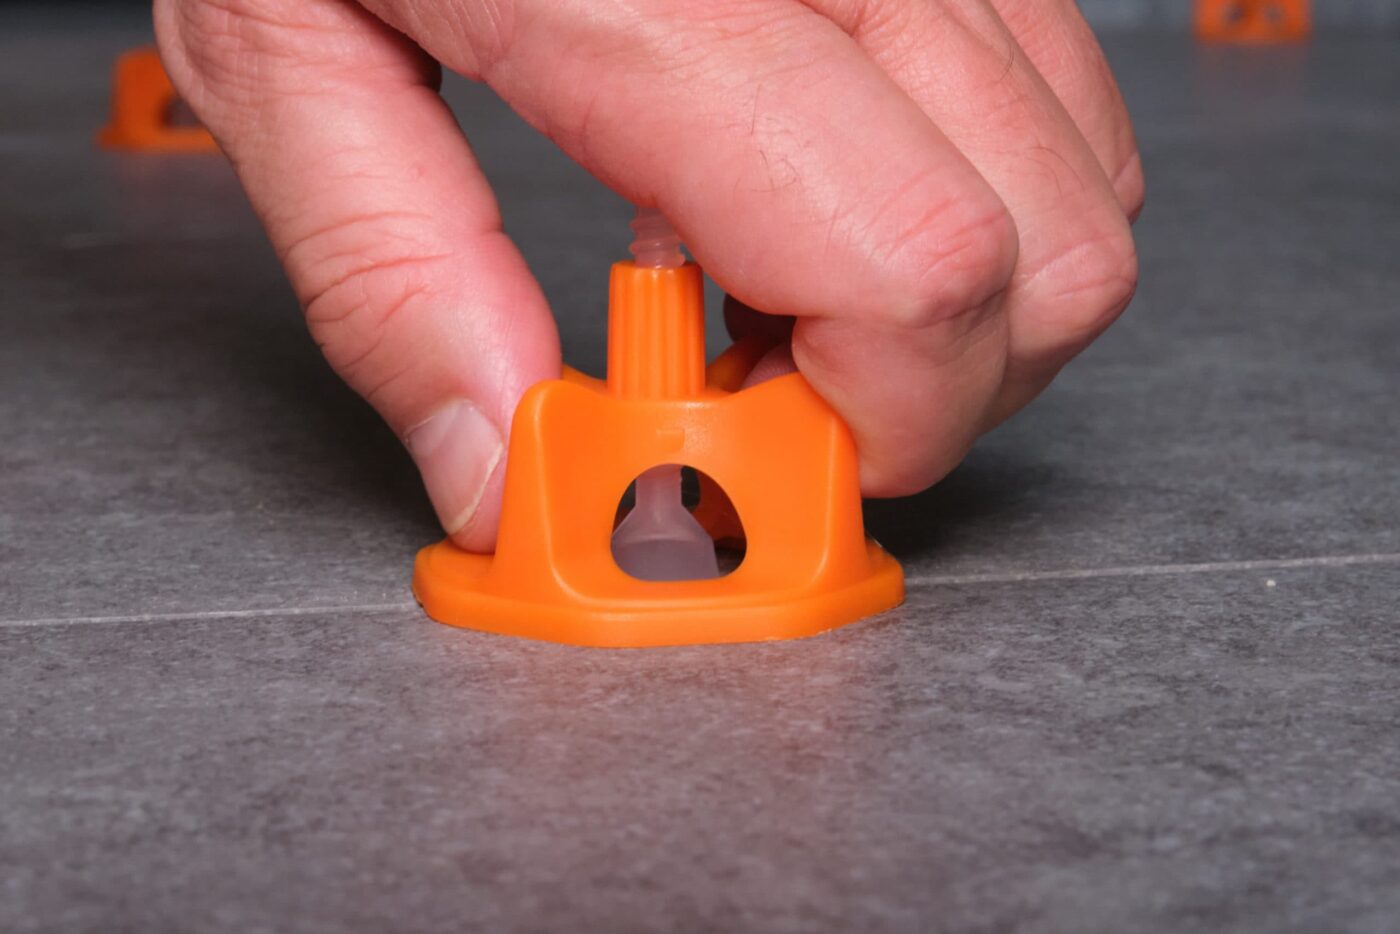
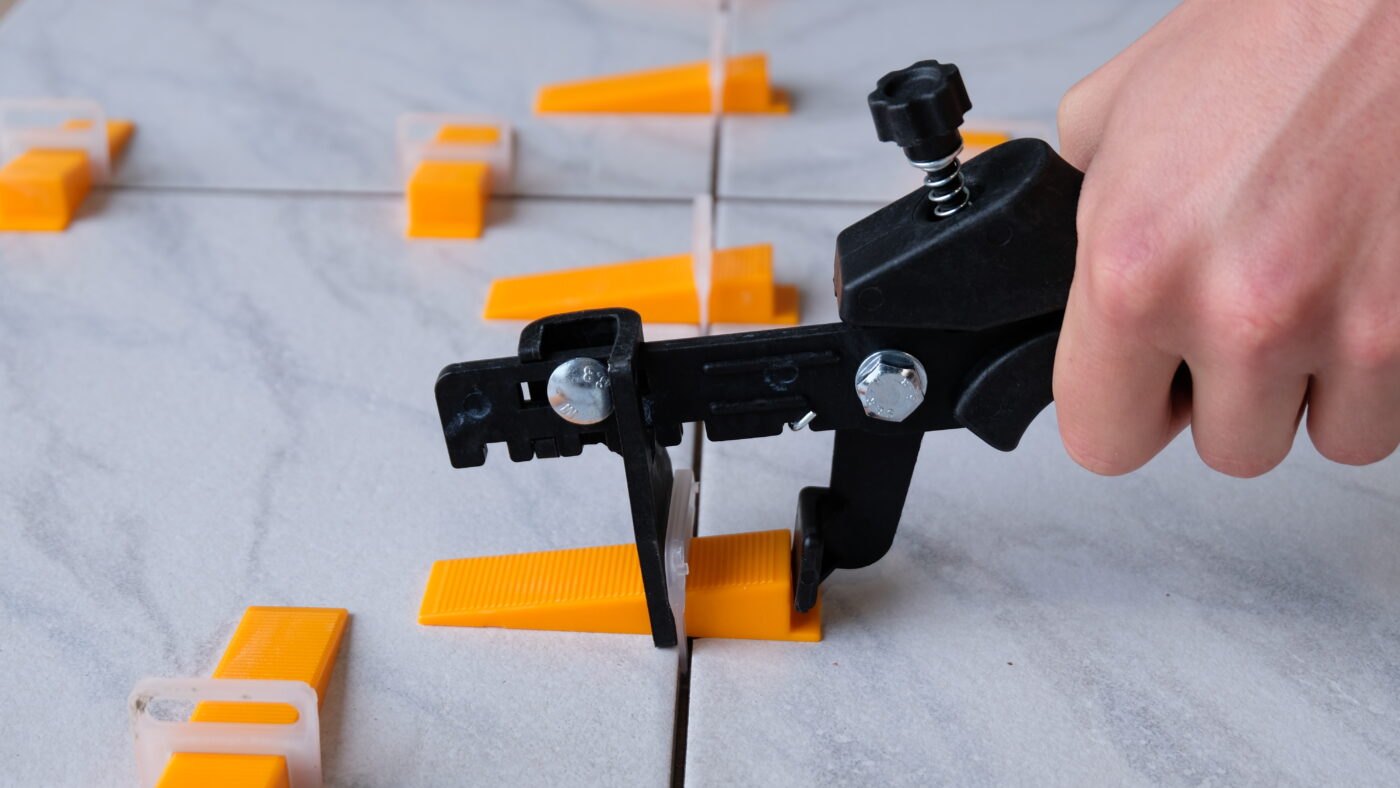
Screwing the spacer caps adds pressure to the tile being leveled. The specific design makes it easy to always add equal pressure for a perfectly even leveling.

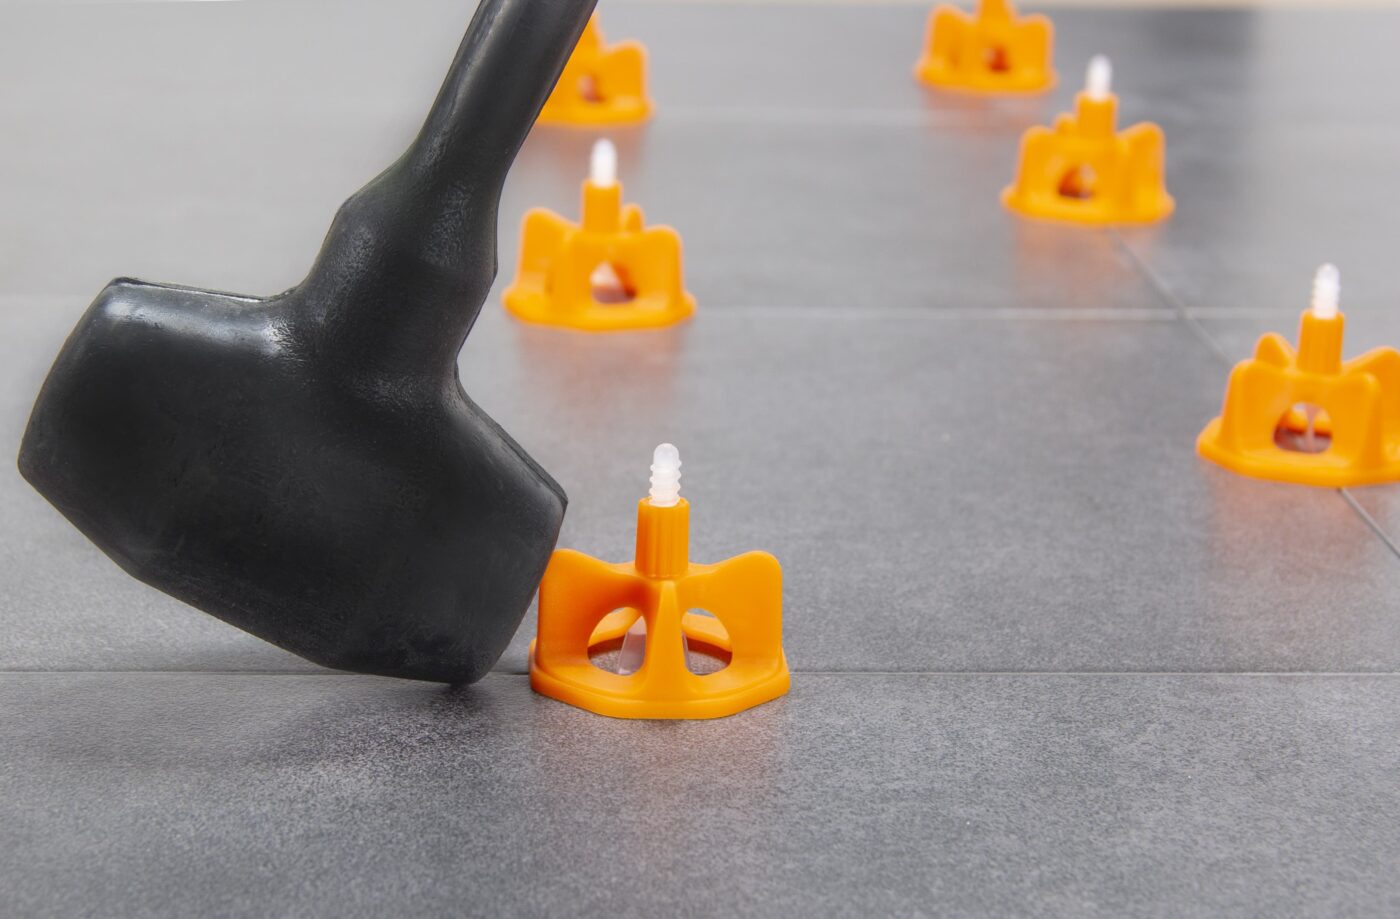
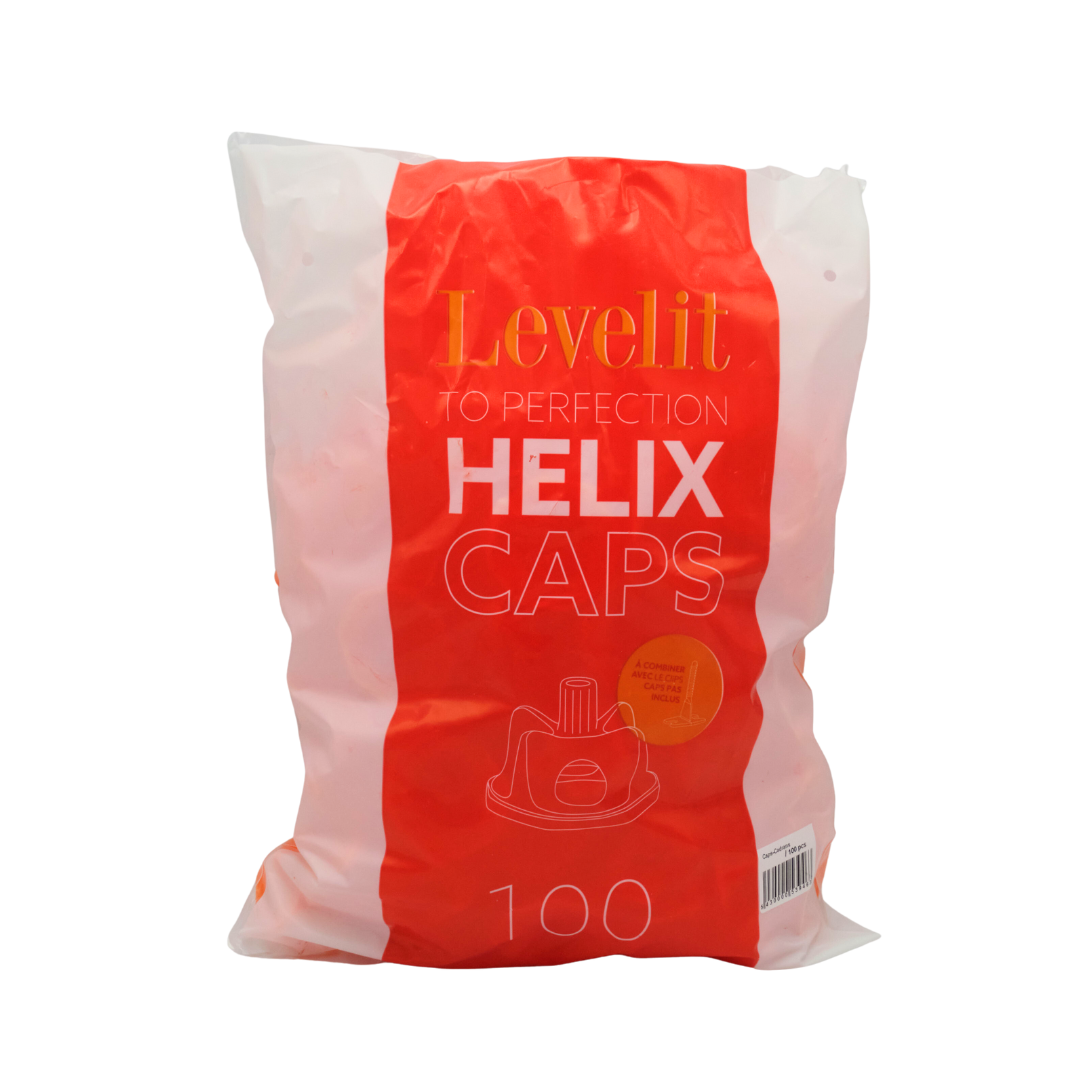
The caps can be combined with all the clips in our range, and are available in packs of 100 or sets of 250.

  • The specific design ensures a perfectly uniform pressure.
  • The ergonomic shape of the caps makes them easy to screw in.
  • The robust material means the caps can be re-used.
Available in packs of 100 or sets of 250
Discover your personal discount from your dealer
  • Description
  • Step-by-step guide
  • Consumption table
Tile thicknesses
3-17mm tile thickness
Package units
Available in packs of 100 or sets of 250

The Helix Caps (3-17mm tile thickness) are suitable for various tile thicknesses and joint widths.

Our range is available in packs of:

  • 100 caps
  • 250 caps

Caps are also suitable for joint widths of:

  • 1,5 mm
  • 2 mm
  • 3 mm
  • 4 mm
  • 2L mm

The caps are suitable for tiles that are 3-17 mm thick.

These caps are available as a complete leveling set. These sets contain the same number of clips and caps, so you can get started right away, and always have enough clips and caps.

How many caps and clips do I need?

The number of spacer clips and caps required depends on the size of the tiles. You can find the recommended quantities on the “Calculation Chart” tab.

Use the calculator app to work out how many clips you need according to the tile size and surface area to be tiled.

Step 1: slide the clips under the tile

After applying the adhesive to the tile, slide the clips under the tile. You should slide one or more clips on each side of the tile, depending on the size of the tile. Tap the tile.Place the next tile after placing the spacers.

* Multiple spacers may be needed for each side of the tile,based on the tile’s size.
* We recommend it to use two spacers on each side of the tile, for tiles that are around 20 cm.
In any case, 1.5 mm spacers are used for 1.5 mm tile joints and 2 mm for 2 mm joints.

Step 1: slide the clips under the tile

Step 2: twist the cap on the clip

Twist with your hand the caps on the clips, that were slid under the tiles.

Step 2: twist the cap on the clip

Step 3: turn the cap until tightened

Turn the cap until the end and tighten it to level the tile.

Step 3: turn the cap until tightened

Step 4: Remove the clips

After tightening the cap, let it dry for 24 hours.

Once the adhesive is totally dry, you can remove the cap and clip from the surface. Break the clip with a rubber hammer of a foot in the direction of the joint.

* If you use a quick drying adhesive, wait until the adhesive has completely dried out.

Step 4: Remove the clips

Step 5: Turn the cap of the broken clip

The caps can be reused by turning them out of the clip.

The number of leveling clips and caps required depends on the size of the tiles. You can find the recommended quantities in the chart below.

Use the calculator app to work out how many clips you need according to the tile size and surface area to be tiled.

It’s available for Android and iOS from the app store!

Google playApp store

Tile thicknesses
3-17mm tile thickness
Package units
Available in packs of 100 or sets of 250
Description

The Helix Caps (3-17mm tile thickness) are suitable for various tile thicknesses and joint widths.

Our range is available in packs of:

  • 100 caps
  • 250 caps

Caps are also suitable for joint widths of:

  • 1,5 mm
  • 2 mm
  • 3 mm
  • 4 mm
  • 2L mm

The caps are suitable for tiles that are 3-17 mm thick.

These caps are available as a complete leveling set. These sets contain the same number of clips and caps, so you can get started right away, and always have enough clips and caps.

How many caps and clips do I need?

The number of spacer clips and caps required depends on the size of the tiles. You can find the recommended quantities on the “Calculation Chart” tab.

Use the calculator app to work out how many clips you need according to the tile size and surface area to be tiled.

Step-by-step guide

Step 1: slide the clips under the tile

After applying the adhesive to the tile, slide the clips under the tile. You should slide one or more clips on each side of the tile, depending on the size of the tile. Tap the tile.Place the next tile after placing the spacers.

* Multiple spacers may be needed for each side of the tile,based on the tile’s size.
* We recommend it to use two spacers on each side of the tile, for tiles that are around 20 cm.
In any case, 1.5 mm spacers are used for 1.5 mm tile joints and 2 mm for 2 mm joints.

Step 1: slide the clips under the tile

Step 2: twist the cap on the clip

Twist with your hand the caps on the clips, that were slid under the tiles.

Step 2: twist the cap on the clip

Step 3: turn the cap until tightened

Turn the cap until the end and tighten it to level the tile.

Step 3: turn the cap until tightened

Step 4: Remove the clips

After tightening the cap, let it dry for 24 hours.

Once the adhesive is totally dry, you can remove the cap and clip from the surface. Break the clip with a rubber hammer of a foot in the direction of the joint.

* If you use a quick drying adhesive, wait until the adhesive has completely dried out.

Step 4: Remove the clips

Step 5: Turn the cap of the broken clip

The caps can be reused by turning them out of the clip.

Consumption table

The number of leveling clips and caps required depends on the size of the tiles. You can find the recommended quantities in the chart below.

Use the calculator app to work out how many clips you need according to the tile size and surface area to be tiled.

It’s available for Android and iOS from the app store!

Google playApp store

Interested in our products, but still have questions?

Contact us!