Choose your region and language
ApplyWhich notched trowel do I need?
Reading time ± 4 minutes
Choosing the right notched trowel is important for good adhesion and an even distribution of tile adhesive. The notch size determines how much adhesive is applied and how it spreads underneath the tile. A notch that is too small can result in insufficient adhesive coverage, while a notch that is too large may apply more adhesive than necessary. There is therefore no single notched trowel suitable for every tile.
The notched trowel you need depends on factors such as the tile size, the flatness of the substrate, the profile of the back of the tile and the type of tile adhesive. Notched trowels also differ in size, notch size, material and handle. In this article, we explain which size and notch you need and which material is best suited to your tiling project.
What size notched trowel do I need for my tiles?
The notch size of a trowel determines how much tile adhesive is applied to the substrate when combing. A notch that is too small can result in insufficient adhesive contact, while a notch that is too large may apply more adhesive than necessary. Tile size is an important factor, but the flatness of the substrate, the profile of the back of the tile and the type of adhesive can also affect the notch size you need.
The table below provides a practical guideline for choosing the right trowel notch size.
| Tile size or application | Recommended notch size |
|---|---|
| Mosaic and very small tiles | 3 × 3 or 4 × 4 mm |
| Small tiles up to approx. 20 × 20 cm | 6 × 6 mm |
| Medium-sized wall and floor tiles | 8 × 8 mm |
| Wall tiles up to approx. 30 × 60 cm | 8 × 8 mm |
| Larger wall tiles from approx. 30 × 60 cm | 10 × 10 mm |
| Floor tiles up to approx. 50 × 50 cm | 10 × 10 mm |
| Tiles of approx. 60 × 60 cm | 12 × 12 mm |
| Large-format tiles | 15 × 15 mm |
Please note: these are general guidelines. The required notch size also depends on the substrate, the profile of the back of the tile, the tile adhesive used and the required adhesive coverage.
Which notched trowel for small tiles and mosaics?
For small tiles, a fine notch is usually sufficient. A notch that is too large applies more adhesive, making it more likely for adhesive to rise between the joints.
For small mosaic tiles up to approximately 5 × 5 cm, you can use a 3 × 3 mm or 4 × 4 mm notched trowel as a guideline. For small tiles up to approximately 20 × 20 cm, a 6 × 6 mm notch is often suitable. For medium-sized wall and floor tiles, an 8 × 8 mm notch can be used.
Which notched trowel for wall tiles?
For wall tiles, the notch size is mainly determined by the tile size and the required adhesive coverage. For small wall tiles of approximately 15 × 15 to 20 × 25 cm, a 6 mm notch can be used as a guideline.
For wall tiles up to approximately 30 × 60 cm, an 8 mm notch is commonly used. For larger wall tiles from approximately 30 × 60 cm, a 10 mm notch may be required.
Are you tiling a bathroom wall? In our blog How to tile a bathroom with HELIX, we explain step by step how to prepare the wall, apply the tile adhesive and install the wall tiles.
Which notched trowel for floor tiles?
Floor tiles generally require a larger notch than small wall tiles. The tile needs sufficient support and adequate contact between the tile adhesive, substrate and tile.
For floor tiles from approximately 20 × 20 cm up to 50 × 50 cm, a 10 mm notched trowel can generally be used. For tiles of approximately 60 × 60 cm, a 12 mm notched trowel is often recommended. For even larger tiles, a 15 mm notched trowel may be suitable.
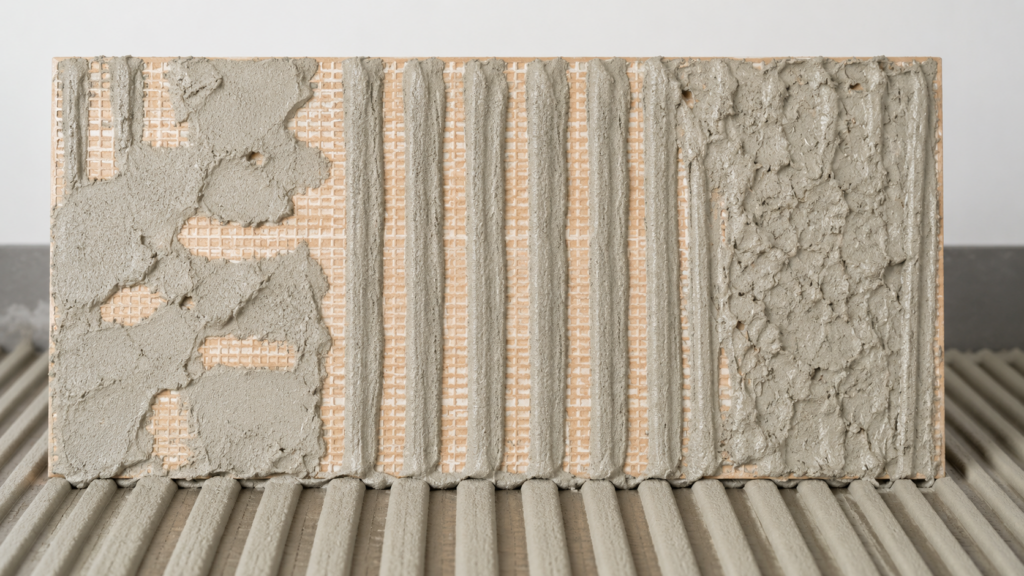
How do you check adhesive coverage?
To check whether you have chosen the right notch size, place a tile into the adhesive bed and press it firmly into position. Then lift the tile again and check how evenly the adhesive has spread across the back of the tile. If the coverage is insufficient, adjust the notch size or bonding method.
Tip: Comb the adhesive in straight, parallel lines. Hold the notched trowel at a consistent angle of approximately 45° and apply the adhesive in an even motion. This creates a consistent ridge pattern and allows air to escape more easily from between the adhesive ridges when the tile is pressed into place.
What size notched trowel do I need?
The size of the notched trowel refers to the length of the tool itself and is separate from the notch size. Its length mainly determines how large an area you can comb in a single movement. A compact trowel provides more control on smaller surfaces, while a longer trowel allows you to apply adhesive more quickly and efficiently over larger areas.
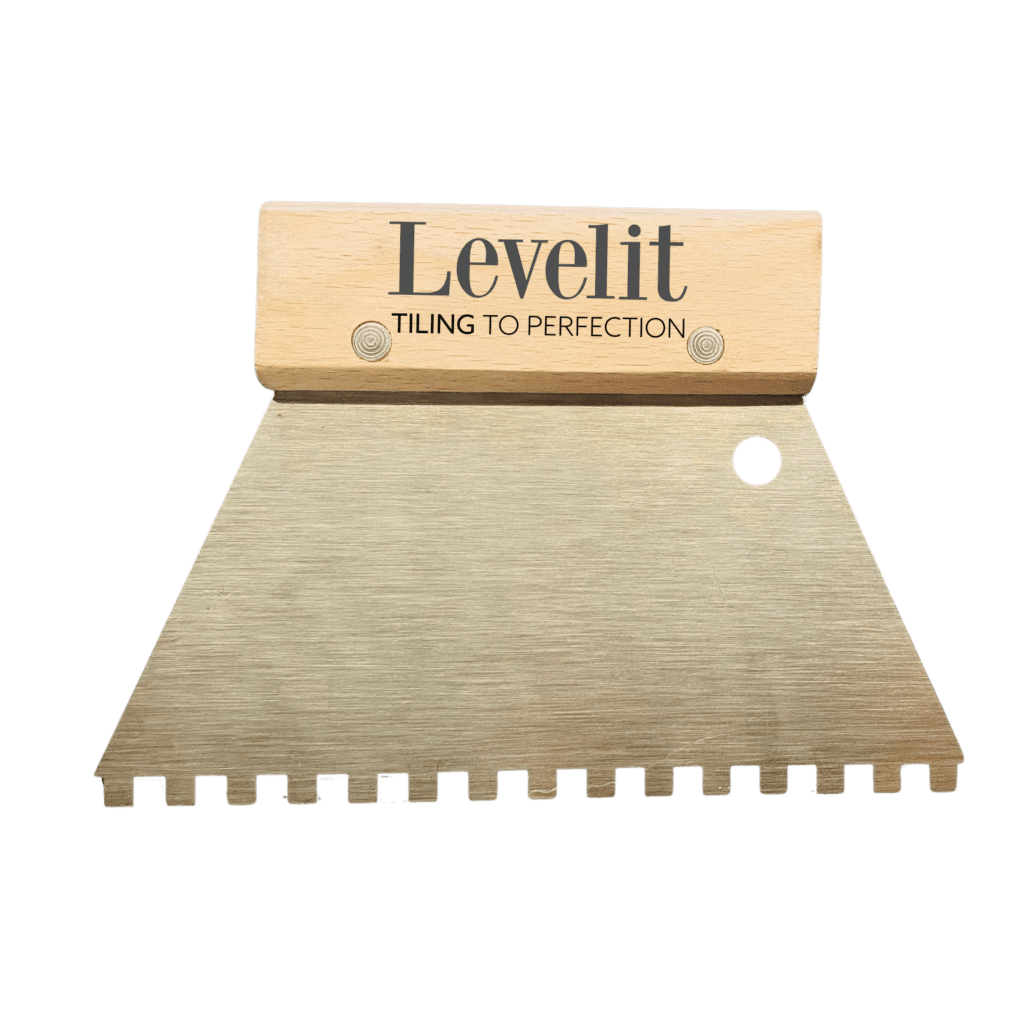

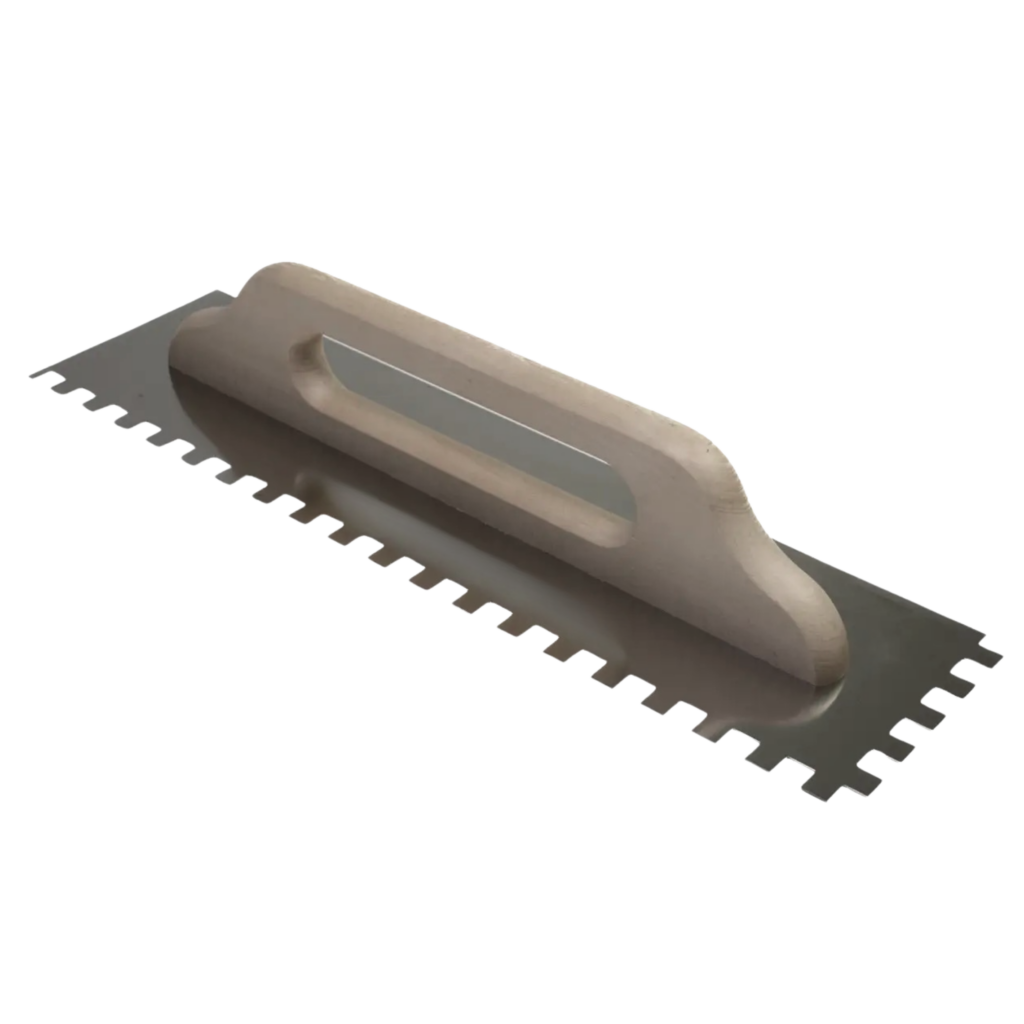
180 mm notched trowel
A 180 mm notched trowel is compact and easy to handle. Its smaller size provides greater control when applying tile adhesive and makes it easier to work in confined areas. It is particularly practical for smaller surfaces, precision work and hard-to-reach areas.
280 mm notched trowel
A 280 mm notched trowel is a versatile choice for general tiling work. It allows you to comb a larger area than a 180 mm trowel while remaining easy to handle. This makes it suitable for a wide range of wall and floor tiling applications, offering a good balance between control and working speed.
480 mm notched trowel
A 480 mm long notched trowel is particularly practical for large surfaces and large-format tiles. Its extra length allows you to comb a wider strip of tile adhesive in a single movement. This makes it easier to create long, even adhesive ridges and prepare larger surfaces efficiently for tile installation.
Stainless steel or carbon steel notched trowel?
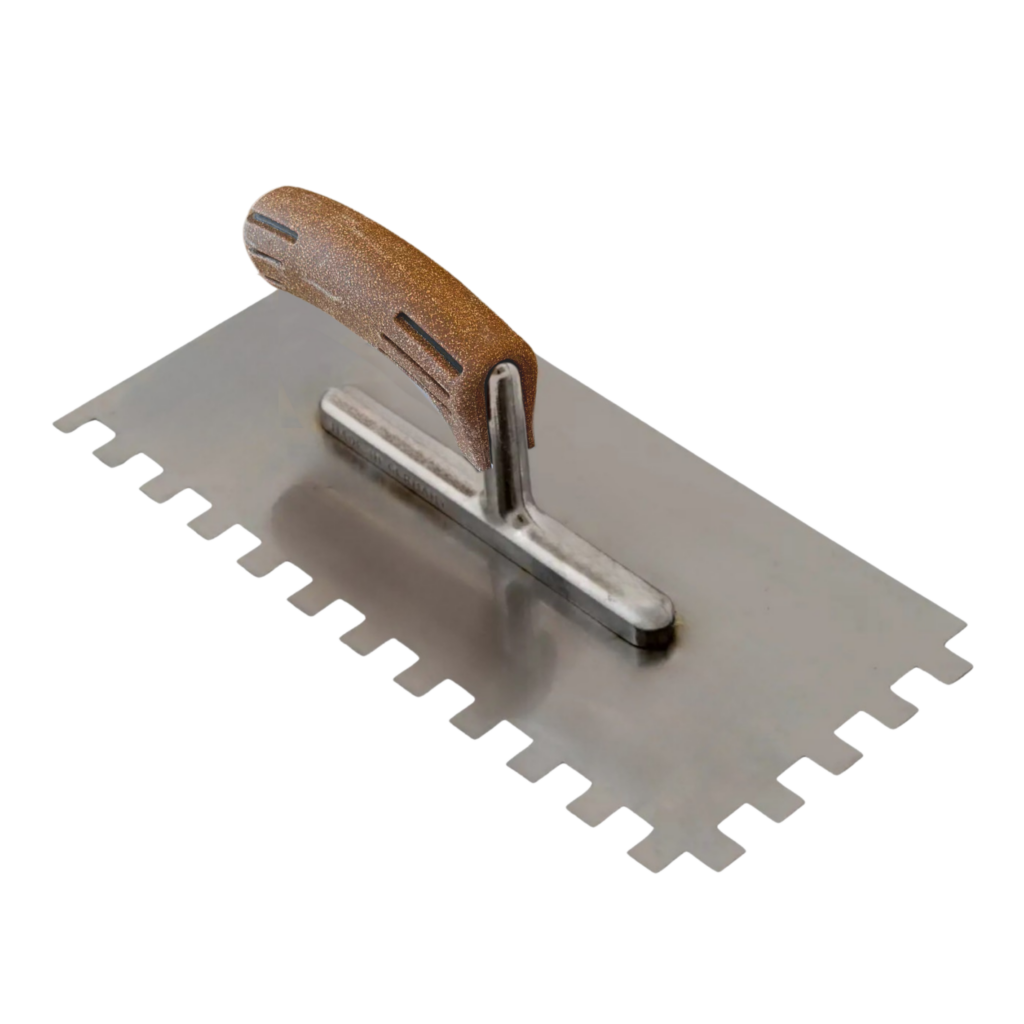
In addition to size and notch size, the material of the notched trowel is also worth considering. Notched trowels are available in materials including hardened carbon steel and stainless steel. Both are suitable for applying tile adhesive but differ mainly in maintenance and corrosion resistance.
- Hardened carbon steel: A hardened carbon steel notched trowel is strong and suitable for a wide range of tiling applications. Steel is more sensitive to moisture and may oxidise or rust over time. A carbon steel trowel should therefore be thoroughly cleaned and dried after use.
- Stainless steel: A stainless steel notched trowel offers better corrosion resistance and is therefore easier to maintain. This makes stainless steel a durable choice for regular and intensive use. It can also be a suitable option when working with white tile adhesives and light-coloured materials, as it reduces the risk of contamination caused by rust.
Regardless of the material, always clean the notched trowel thoroughly after use. Do not allow tile adhesive to harden on the teeth, as hardened adhesive can affect the notch profile and result in less even adhesive application during your next tiling job.tanding beïnvloeden, waardoor de tegellijm bij een volgend tegelwerk minder gelijkmatig wordt aangebracht.
Which handle should you choose for a notched trowel?
In addition to the size, notch size and material, the handle of the notched trowel also plays a role in working comfort. Good grip and control are particularly important when combing tile adhesive for longer periods.
- Wooden handle: A wooden handle is the traditional choice for a notched trowel. The material feels sturdy and provides good control when combing the tile adhesive. Wood does require a little more care when cleaning: allow the handle to dry thoroughly after use and avoid leaving it damp for prolonged periods.
- Cork handle: A cork handle combines a lightweight design with a natural grip. Cork feels comfortable and can partially absorb moisture, making the handle feel less clammy when your hands are warm or sweaty. Its natural texture provides good grip without the pronounced rubbery feel of a soft-grip handle. This makes cork particularly comfortable for prolonged use.
- Soft-grip handle: A soft-grip handle has a soft, slip-resistant finish and provides a secure grip when combing tile adhesive. During prolonged use or with damp hands, however, the greater friction of some soft-grip materials may feel less comfortable.

Which notched trowel should you choose?
The right notched trowel depends on the tiling work you are carrying out. First, select the notch size based on the tile size, substrate and required adhesive coverage. Then choose a trowel length that suits the area you are working on. Finally, consider the material and handle according to your preferred working comfort and maintenance requirements.
If you are deciding between two notch sizes, use the recommended sizes as a starting point and always check during installation that sufficient adhesive coverage is being achieved.
Related articles
Professional mortar mixer: Levelit MIX 1800 force
Spike roller for self-levelling compound: which one do you need?
