Technische karakteristieken
- Complete startersset
- Clips en caps
- Herbruikbare emmer


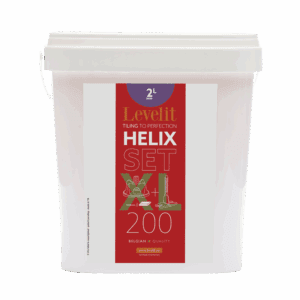
Deze complete starterkit van HELIX by Levelit bevat alles wat u nodig heeft om meteen aan de slag te gaan met het HELIX xl nivelleersysteem. Een complete set met clips en caps, handig verpakt in een stevige en herbruikbare emmer.
Technische karakteristieken
| | |
Specificaties | HELIX STARTERKIT LONG 2L MM - 250 STUKS |
Referentie | SET200-2L |
EAN-code | 5430003605196 |
Voegbreedte | 2 mm |
Verpakking | 200 stuks |
Tegeldikte | 15 - 25 mm |
Documenten | Productfiche |
Met de Helix xl starterkit beschikt u over alle benodigde onderdelen om direct aan de slag te gaan met het nivelleren van dikke muurtegels. De set bevat Helix spacer clips en herbruikbare draaidoppen, zodat u zonder bijkomende aankopen een perfect vlak tegeloppervlak kunt realiseren.
De Helix spacer clips zorgen voor een nauwkeurige uitlijning van de tegels, een constante voegbreedte en een professionele afwerking van tegelwanden. In combinatie met de draaidoppen worden hoogteverschillen effectief voorkomen en blijven de tegels tijdens het uitharden van de lijm perfect op hun plaats. Dankzij het handige draaisysteem kan de benodigde druk snel en nauwkeurig worden ingesteld.
De starterkit is speciaal samengesteld voor tegels met een dikte van 15 tot 25 mm en biedt de ideale oplossing voor het plaatsen van wandtegels in badkamers, keukens en andere tegelprojecten. Dankzij de praktische verpakking heeft u steeds alle onderdelen overzichtelijk bij de hand en kunt u efficiënt werken op elke werf.
Zorg altijd voor voldoende tegellijm en plaats de eerste tegel. Controleer of deze tegel volledig waterpas ligt voordat je verder werkt.
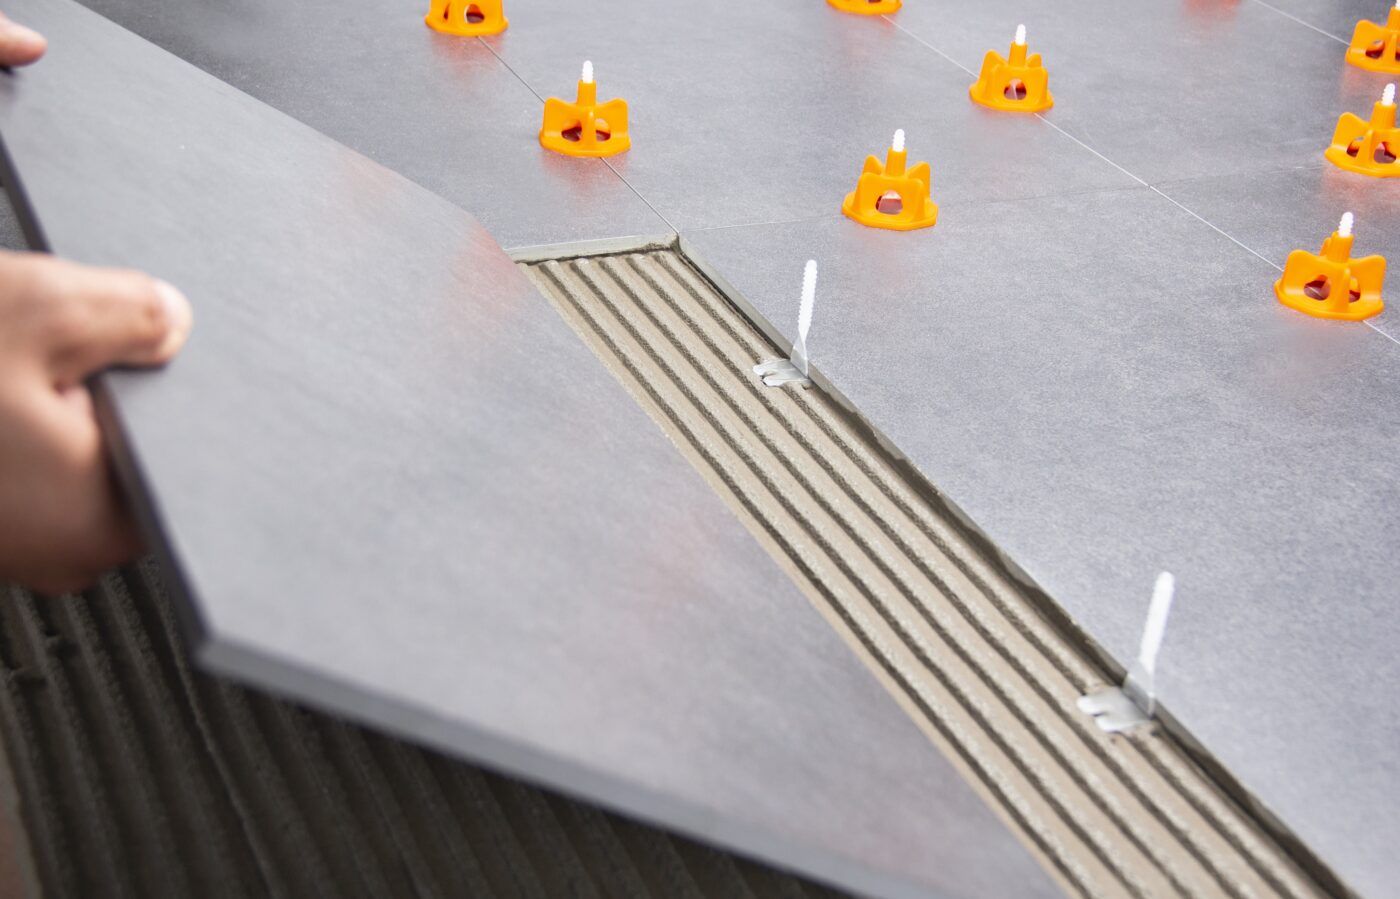
Schuif de clip(s) onder de tegel en druk de tegel licht aan. Plaats de volgende tegel nadat je de clips hebt aangebracht. Zorg ervoor dat de tegel bovenop het voetje van de clip wordt geplaatst.
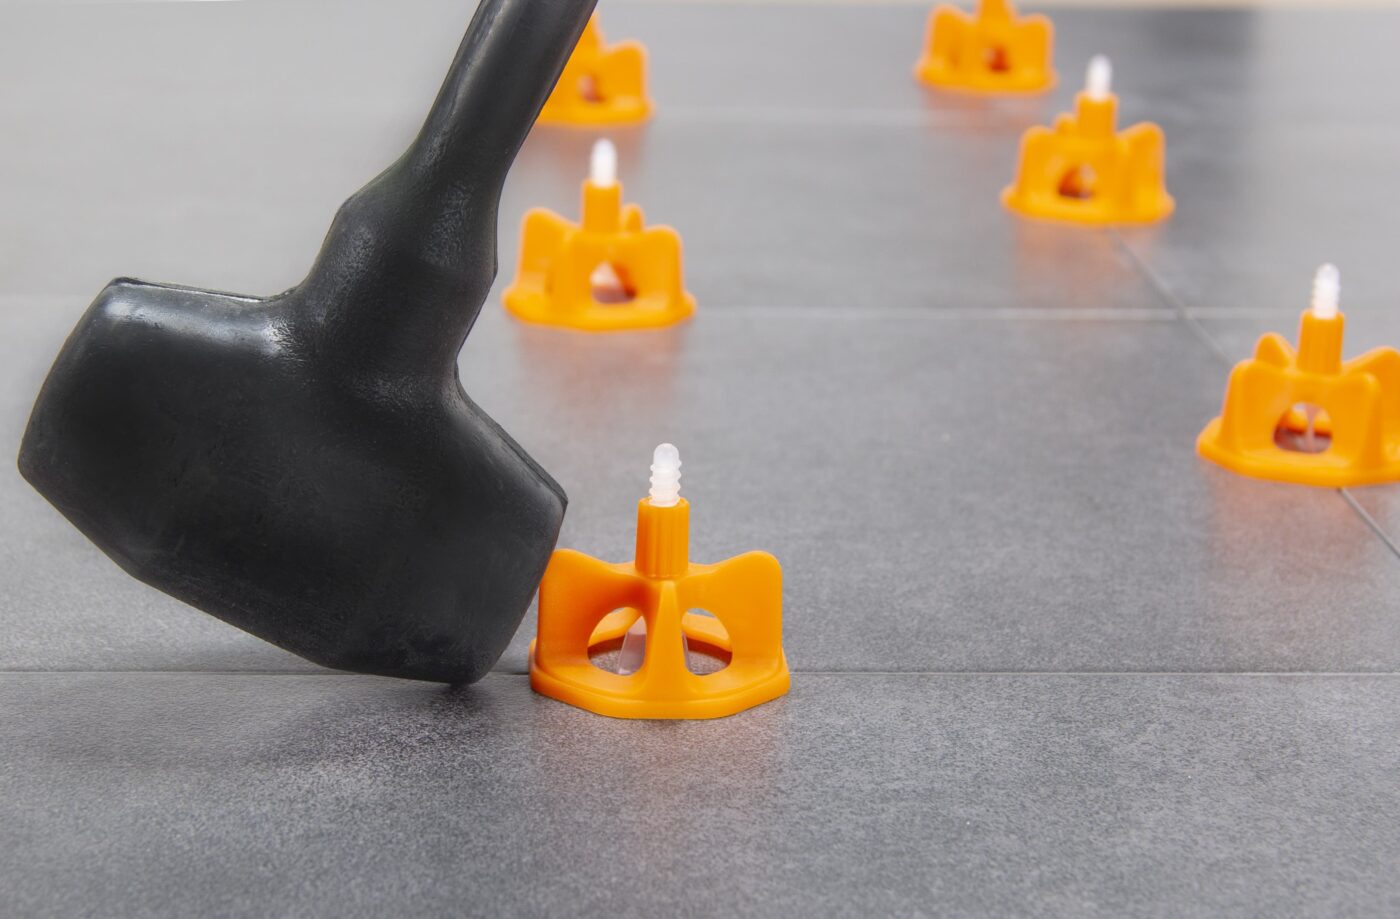
Afhankelijk van het formaat van de tegel plaats je één of meerdere clips per zijde. Klop de tegel aan.
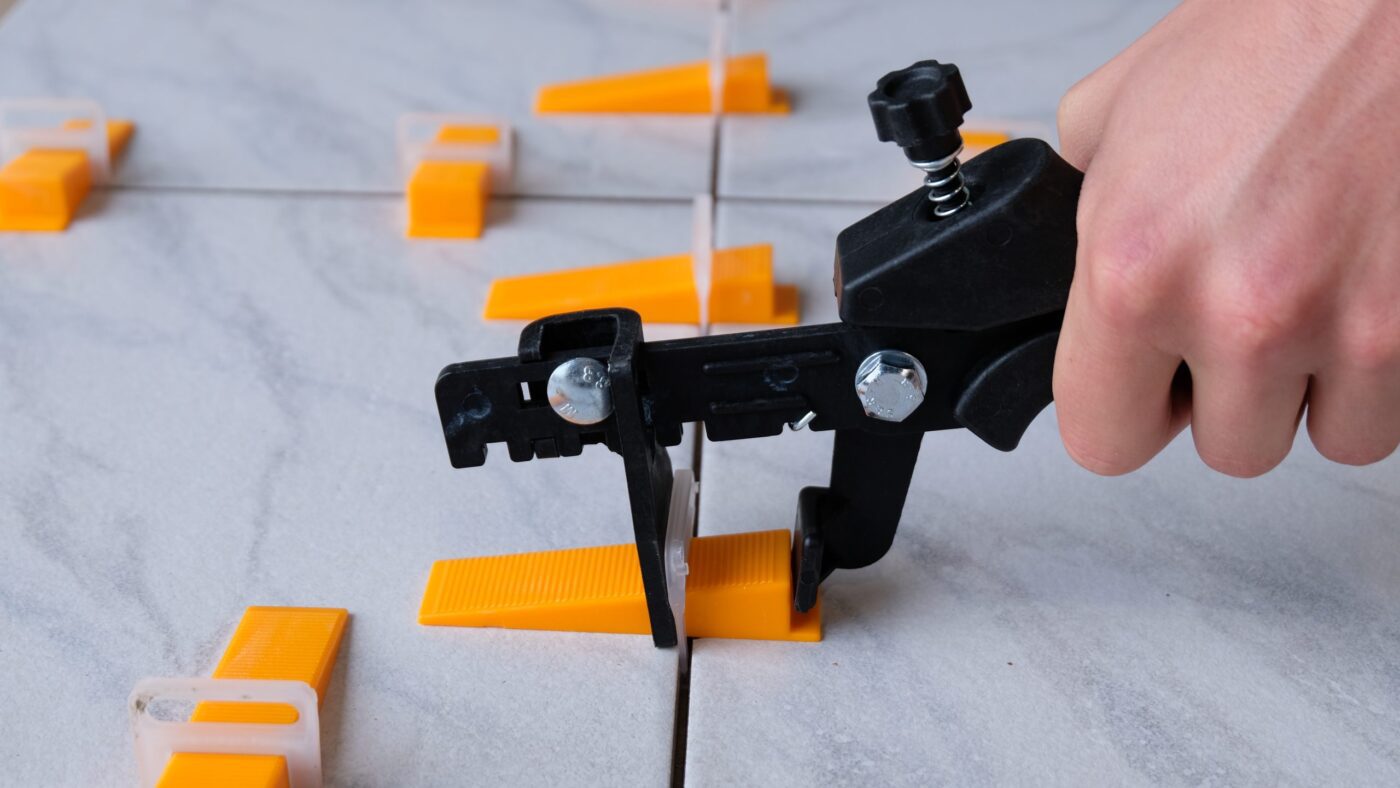
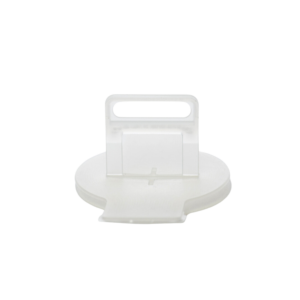
Draai de cap op de clip en draai hem stevig vast.
Tip: Verwijder de cap nog niet.
Laat de cap na het vastzetten minder dan 24 uur zitten. Zodra de tegellijm BIJNA volledig is uitgehard, kunnen de clip en de cap eenvoudig worden verwijderd met een rubberen hamer of met de voet.
Tip: Breek de clip en cap altijd in de richting van de voeg.
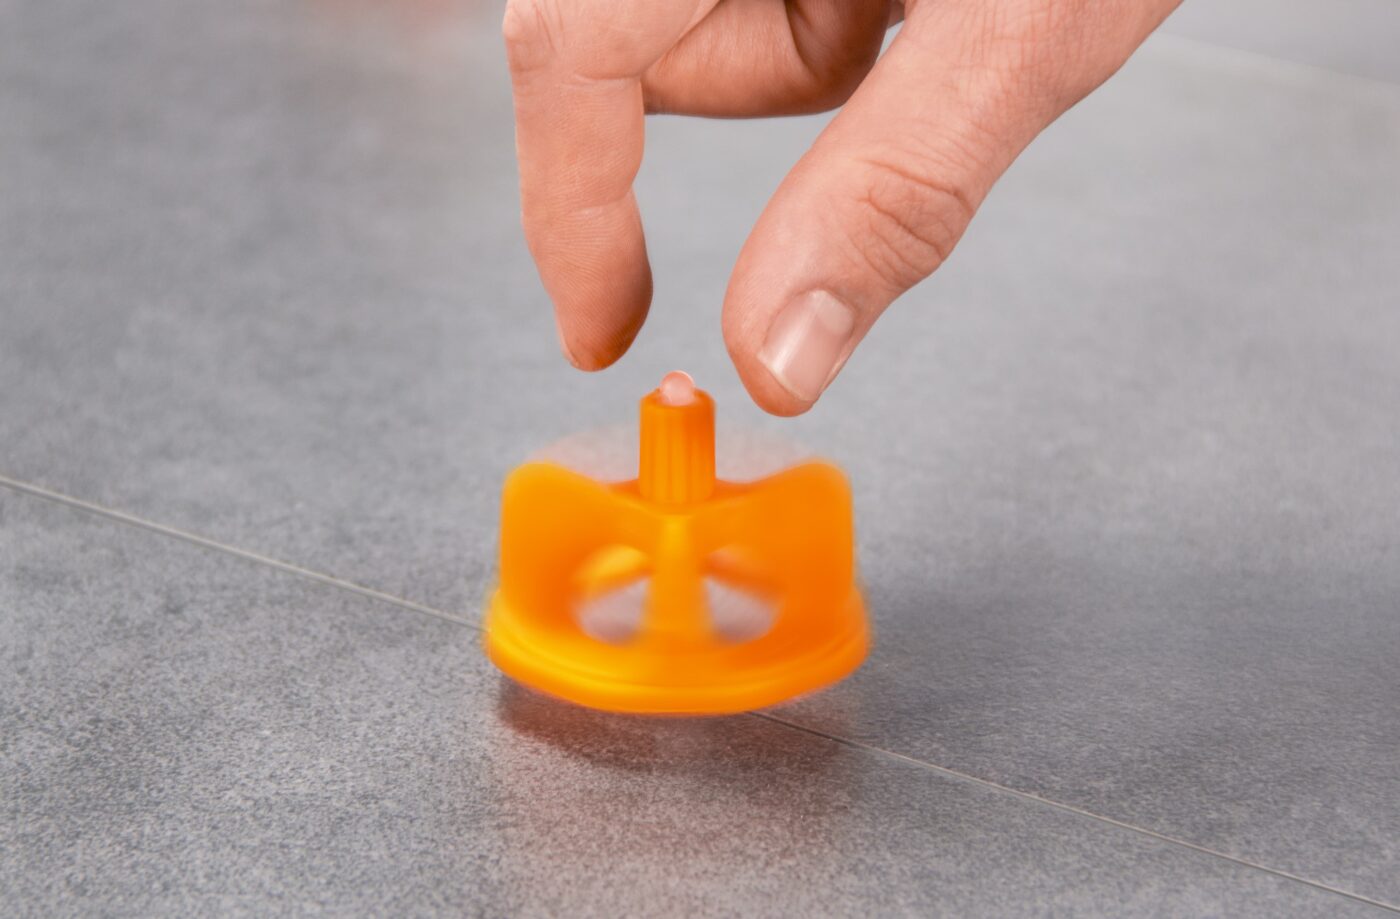
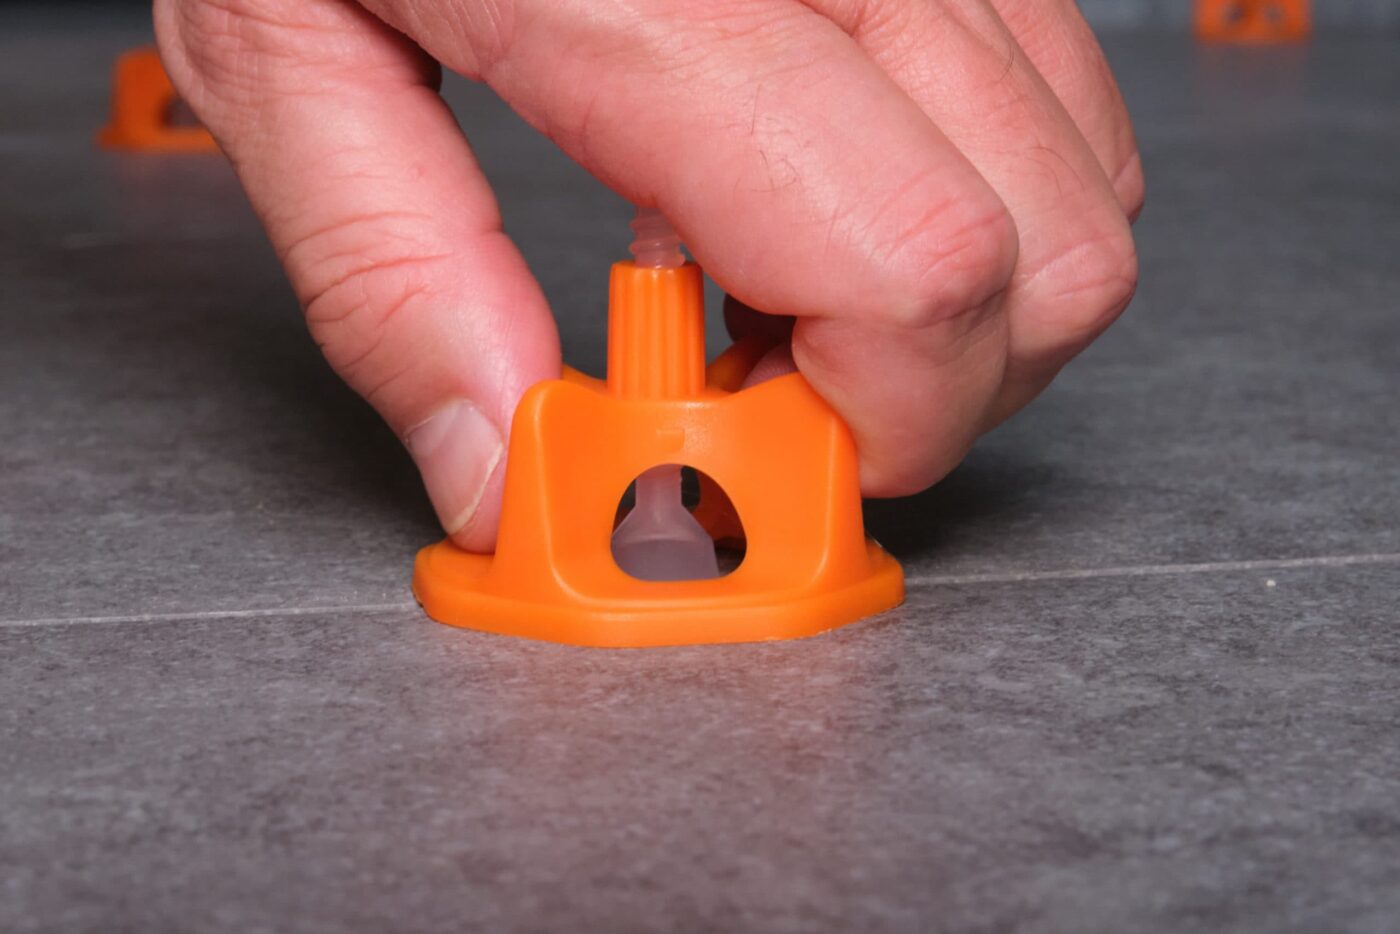
Haal de caps uit de clips. De caps kunnen opnieuw worden gebruikt.
Het aantal benodigde clips en caps hangt af van de verschillende factoren, zoals het formaat van de tegels en de grootte van het te betegelen oppervlak. Raadpleeg hieronder het verbruiksadvies
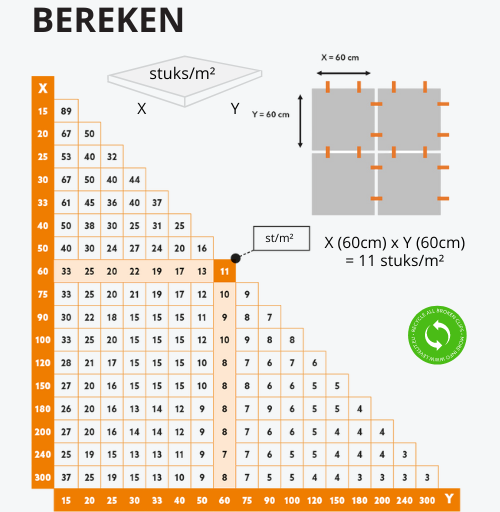 Stap 1
Meet de lengte en de breedte van de tegel. Zoek deze afmetingen vervolgens op het in de rekentabel hiernaast. Het kruispunt van beide maten geeft het aantal benodigde clips per m2 weer.
Bereken de totale oppervlakte van het te betegelen oppervlak in m2. Vermenigvuldig hiervoor de lengte met de breedte van de ruimte.
Vermenigvuldig het aantal clips per m2 (uit stap 1) met de totaal oppervlakte van het te betegelen oppervlak (uit stap 2). Zo bekom je het totale aantal clips dat nodig is voor jouw project.
| | |
Specificaties | HELIX STARTERKIT LONG 2L MM - 250 STUKS |
Referentie | SET200-2L |
EAN-code | 5430003605196 |
Voegbreedte | 2 mm |
Verpakking | 200 stuks |
Tegeldikte | 15 - 25 mm |
Documenten | Productfiche |
Met de Helix xl starterkit beschikt u over alle benodigde onderdelen om direct aan de slag te gaan met het nivelleren van dikke muurtegels. De set bevat Helix spacer clips en herbruikbare draaidoppen, zodat u zonder bijkomende aankopen een perfect vlak tegeloppervlak kunt realiseren.
De Helix spacer clips zorgen voor een nauwkeurige uitlijning van de tegels, een constante voegbreedte en een professionele afwerking van tegelwanden. In combinatie met de draaidoppen worden hoogteverschillen effectief voorkomen en blijven de tegels tijdens het uitharden van de lijm perfect op hun plaats. Dankzij het handige draaisysteem kan de benodigde druk snel en nauwkeurig worden ingesteld.
De starterkit is speciaal samengesteld voor tegels met een dikte van 15 tot 25 mm en biedt de ideale oplossing voor het plaatsen van wandtegels in badkamers, keukens en andere tegelprojecten. Dankzij de praktische verpakking heeft u steeds alle onderdelen overzichtelijk bij de hand en kunt u efficiënt werken op elke werf.
Zorg altijd voor voldoende tegellijm en plaats de eerste tegel. Controleer of deze tegel volledig waterpas ligt voordat je verder werkt.
Schuif de clip(s) onder de tegel en druk de tegel licht aan. Plaats de volgende tegel nadat je de clips hebt aangebracht. Zorg ervoor dat de tegel bovenop het voetje van de clip wordt geplaatst.
Afhankelijk van het formaat van de tegel plaats je één of meerdere clips per zijde. Klop de tegel aan.
Draai de cap op de clip en draai hem stevig vast.
Tip: Verwijder de cap nog niet.
Laat de cap na het vastzetten minder dan 24 uur zitten. Zodra de tegellijm BIJNA volledig is uitgehard, kunnen de clip en de cap eenvoudig worden verwijderd met een rubberen hamer of met de voet.
Tip: Breek de clip en cap altijd in de richting van de voeg.
Haal de caps uit de clips. De caps kunnen opnieuw worden gebruikt.
Het aantal benodigde clips en caps hangt af van de verschillende factoren, zoals het formaat van de tegels en de grootte van het te betegelen oppervlak. Raadpleeg hieronder het verbruiksadvies
Stap 1Meet de lengte en de breedte van de tegel. Zoek deze afmetingen vervolgens op het in de rekentabel hiernaast. Het kruispunt van beide maten geeft het aantal benodigde clips per m2 weer.
Bereken de totale oppervlakte van het te betegelen oppervlak in m2. Vermenigvuldig hiervoor de lengte met de breedte van de ruimte.
Vermenigvuldig het aantal clips per m2 (uit stap 1) met de totaal oppervlakte van het te betegelen oppervlak (uit stap 2). Zo bekom je het totale aantal clips dat nodig is voor jouw project.


![]()
![]()